Post-Installation Configuration (Mandatory)
After you have installed and activated the add-on, you need to create a page that will show the public tickets.
- In your WordPress Admin, go to PAGES->Add New.
- Give your page a name (eg: Public Tickets)
- In the main body of the page add the following shortcode: pbtk_tickets type=”public”
- Click the PUBLISH button on the right of the page.
When you are done your page should look similar to this image:
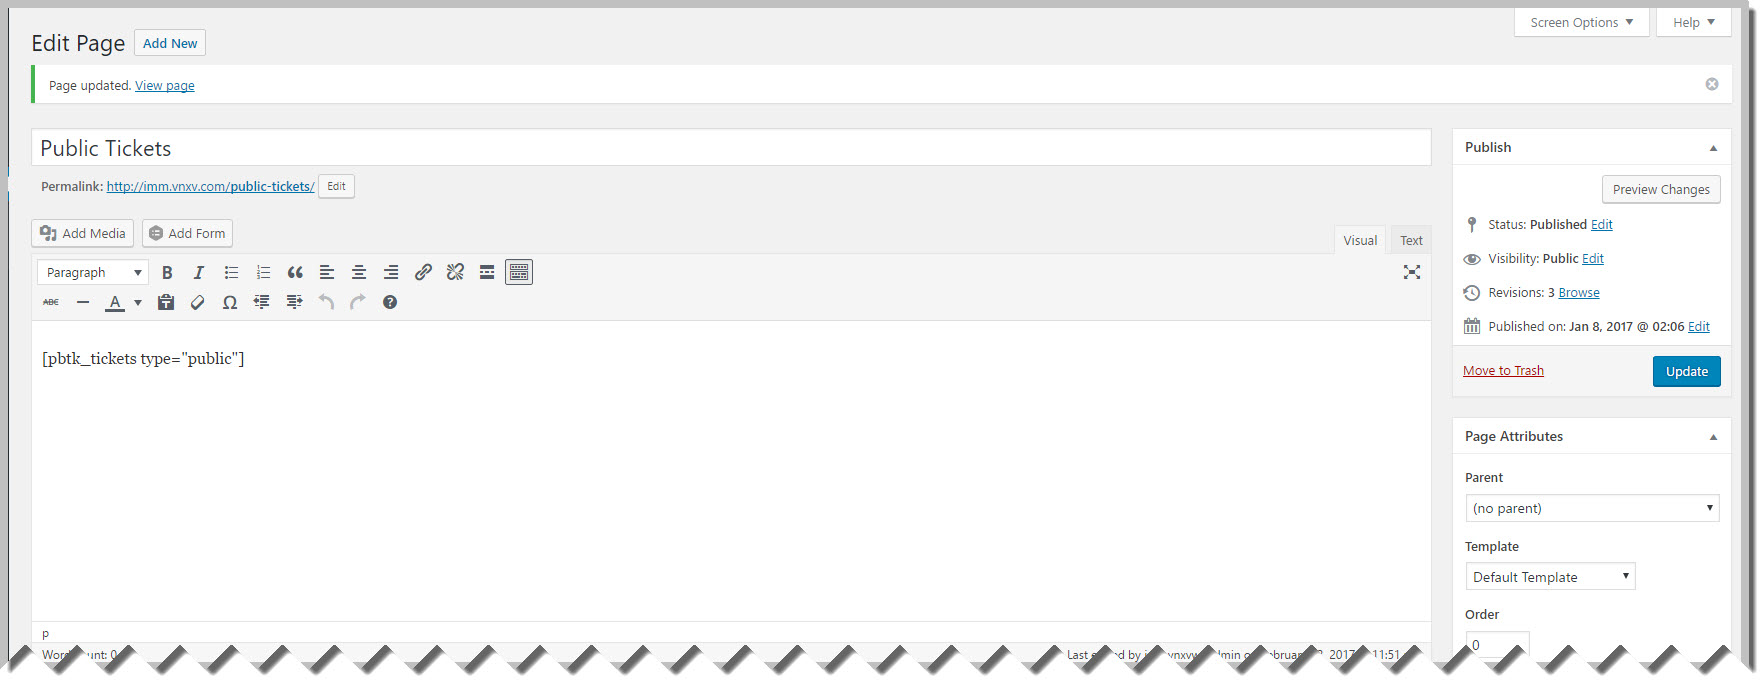
To view your page you should navigate to the WordPress URL for the page. If you used “Public Tickets” as your page title then your url would be something similar to https://www.yourdomain.com/public-tickets.
Generally you should see your page URL under the title of your page. The red box in the image below shows you where to locate your public tickets page URL.

Search