WPML: Quick Installation Guide
When installing WPML, there are many options you can choose – here is how you should install it to work with Awesome Support.
Initial WPML setup
Assuming you have uploaded the premium WPML plugins to WordPress, you first need to activate at least two of them.
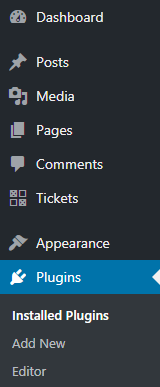
To activate the plugins required you will need to click on the “Plugins” menu node on the WordPress administration panel.
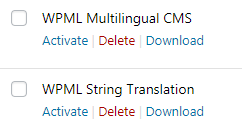
For a minimum translation experience using WPML you need to activate two plugins from WPML: “WPML Multilingual CMS” and “WPML String Translation”.
Once the WPML plugins have been activated you will see a “WPML” menu node on the left sided menu. If you click this you will be taken through the initial set up process for WPML. These are split into the following sections:
- Site languages – this is where you can add/remove each language that you want on your website. The majority of the this tutorial will focus on making translations in French and German versions.
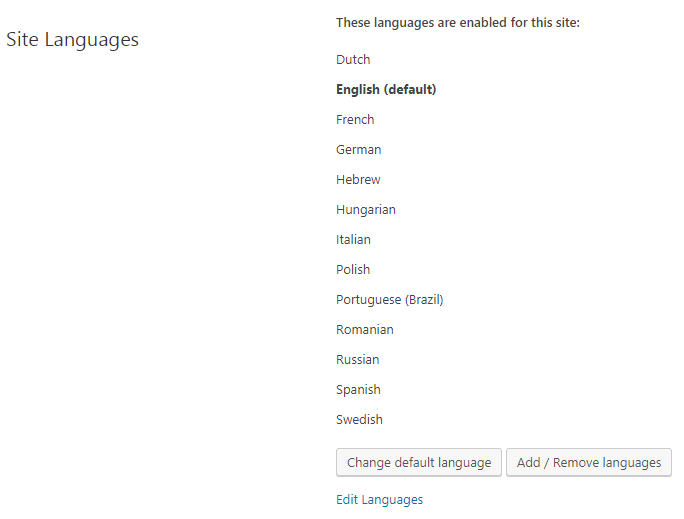
WPML Site languages setting
- Language URL format – this is where you choose the URL format for when each lanugage version is loaded. For example, you could have an URL ending as a parameter ?lang=fr This would appear for the French version. Instead you can have the language URL as a directory, for example, /fr/ This would appear for the French version also.
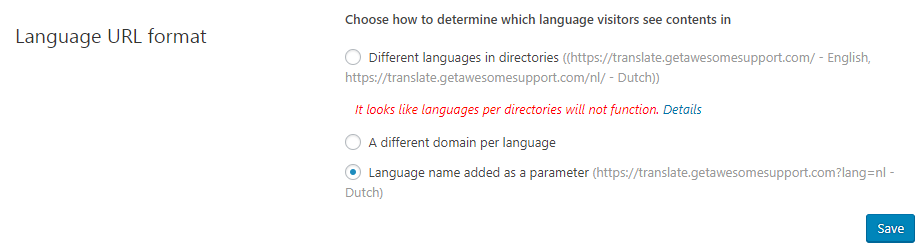
WPML Language URL format setting
- Language switcher options – this is where you can change the order of how each language is displayed, along with how to handle languages without translations. This section’s settings will affect the language order on all switchers which WPML provides (for example, the menu switcher and widget switcher). This gives a drag and drop interface to change the ordering.
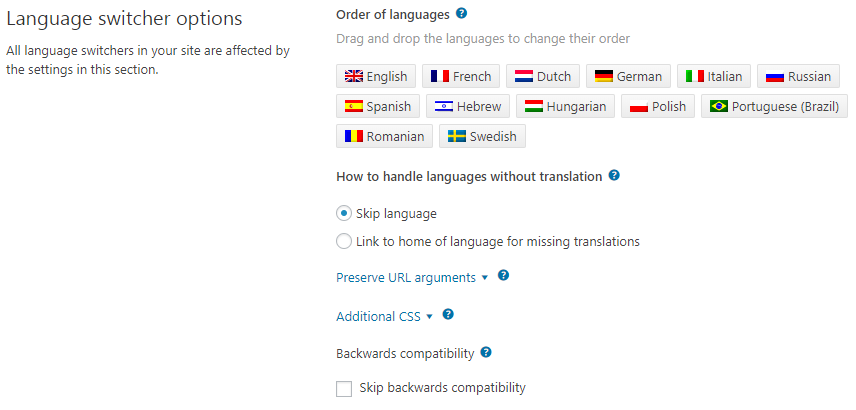
WPML Language switcher options setting
- Menu language switcher – this is where you can select a menu to show a language switcher. For now this section should remain unset. This is because we need to create translated versions of the initial Awesome Support pages and add them to each menu. However, if you do not want a language switcher to appear on your website’s menu then you will not need to configure this section. Please reference “Initial Awesome Support Set up” which covers the initial Awesome Support page translation. You will need to then reference “Setting up the language switcher on the menu (optional)” and “Add the language switcher to the menu” for configuring the menu language switcher.
- Widget language switcher – this is where you can add a language switcher to different widget areas of your website. If you don’t want a language switcher in any of the website’s widget areas then you do not need to configure this section. When adding a new widget area to have a language switcher an overlay will display which will give you options for which widget area to add the switcher to. There are also options on how the switcher will display and a preview of how the switcher will look.
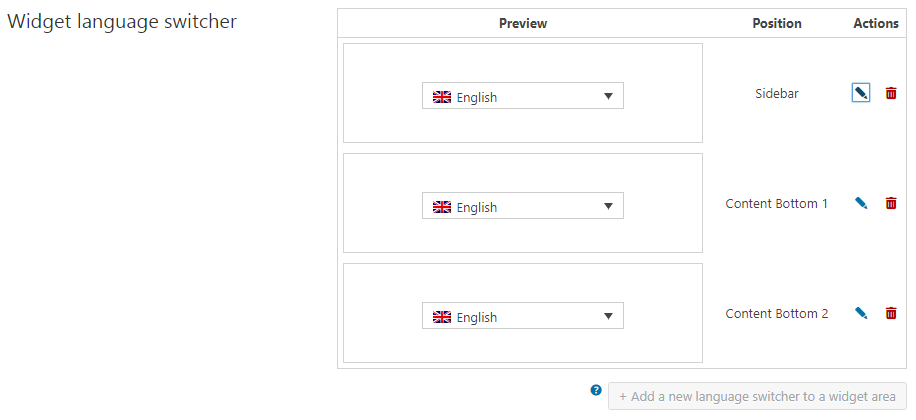
WPML Widget language switcher setting
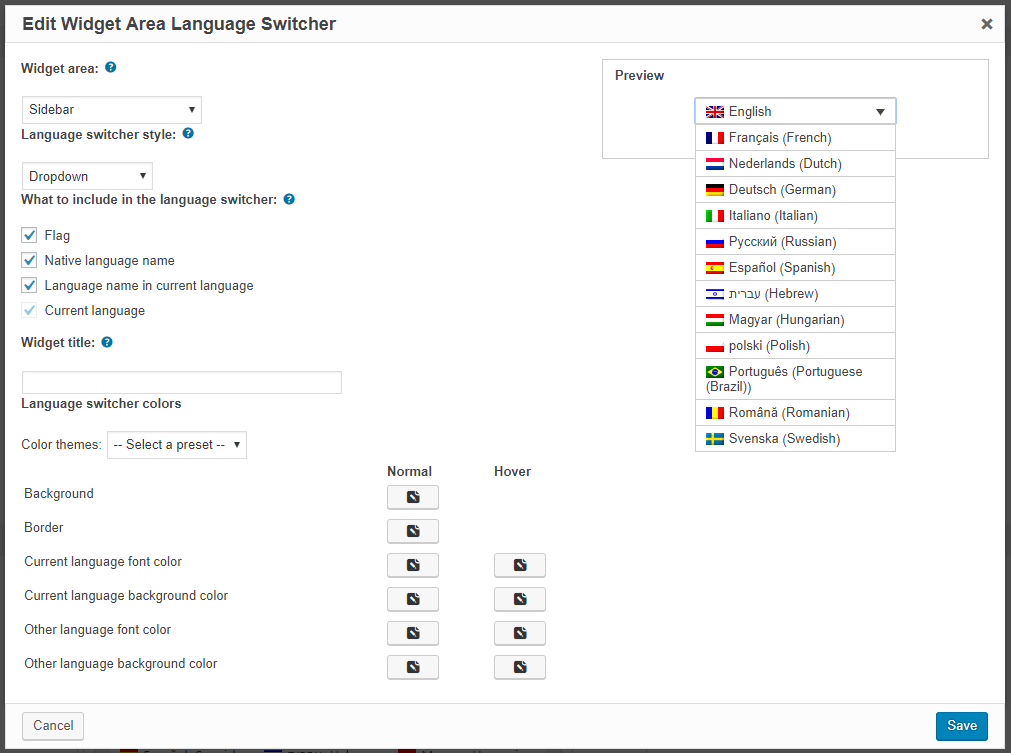
Widget language switcher overlay
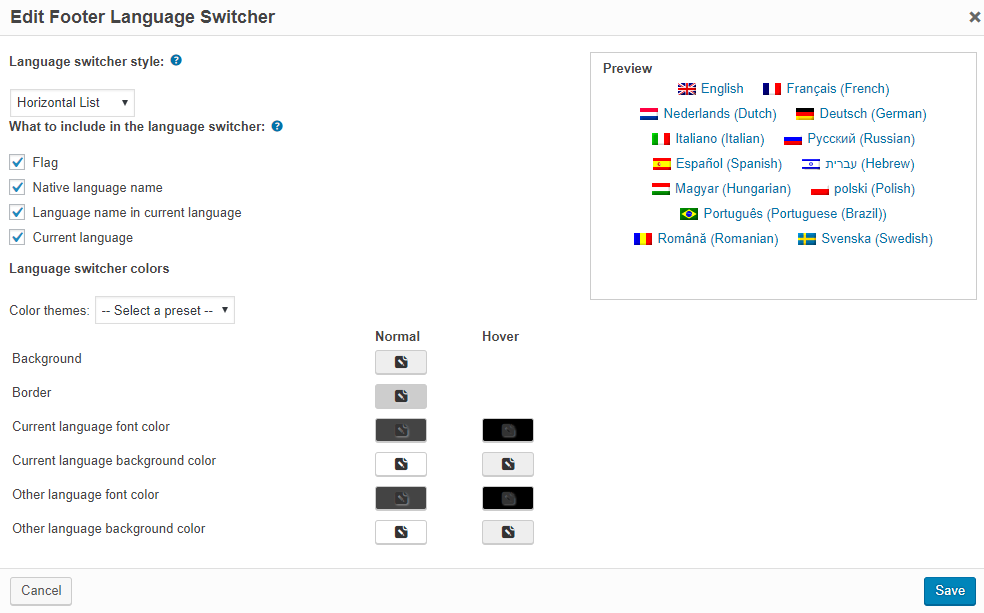
- Footer language switcher – this is where you can add a language switcher to the footer of your website. If you don’t want a language switcher in the footer then you do not need to configure this section. Like the Widget language switcher and Menu language switcher, there is an overlay which gives options on how the switcher will display, along with a preview.
WPML Footer language switcher setting

Footer language switcher overlay
- Links to translation of posts – this is where you can add links to posts which allows users to view them in different languages.
WPML Links to translation of posts
- Custom language switchers – this is where you can enable custom language switchers. Adding custom switchers requires some coding. WPML provides references to achieve this which you can access here.

WPML Custom language switchers
- Hide languages – this is where you can hide content from specific languages but still view it yourself.
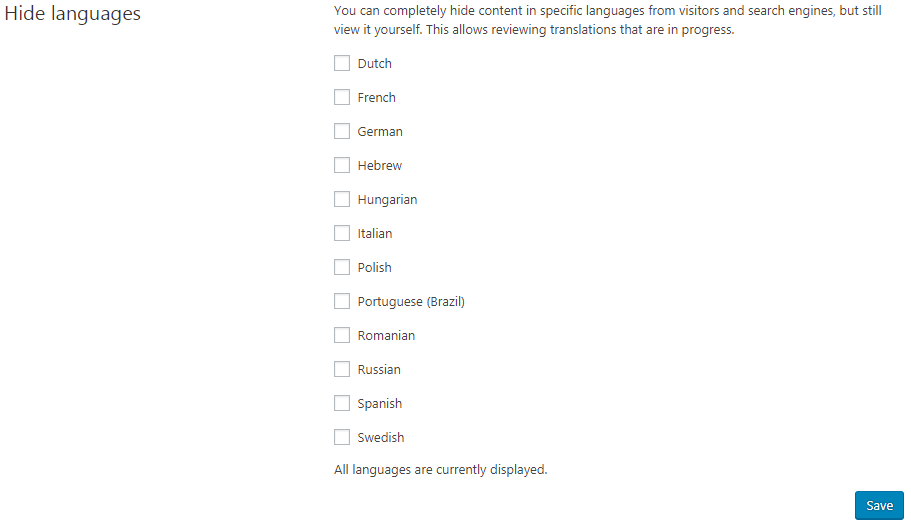
WPML Hide languages setting
- Make theme work multilingual – this is where you can make themes multilingual, without making coding changes to the theme’s PHP files.

WPML Make themes multilingual setting
- Browser language redirect – this allows the core WPML plugin to redirect users based on the user’s browser language.
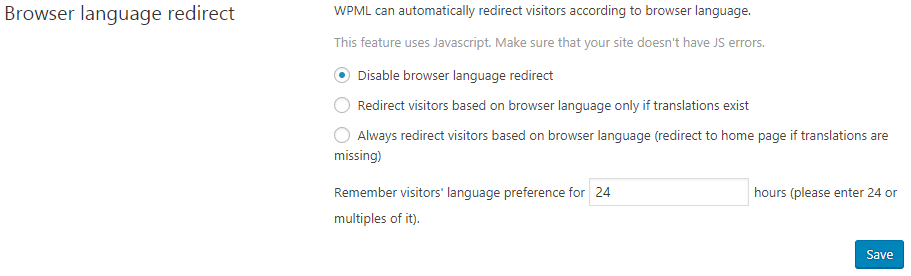
WPML Browser language redirect setting
- SEO Options – this allows display of alternative languages on the website HEAD section’s source code.

WPML SEO options setting
- WPML love – this allows you to put a message on the footer of your website to say that you’re using the WPML plugin for your site’s translation.

WPML Love setting
- Language filtering for AJAX operations – this stores a cookie to support language filtering for Ajax operations.
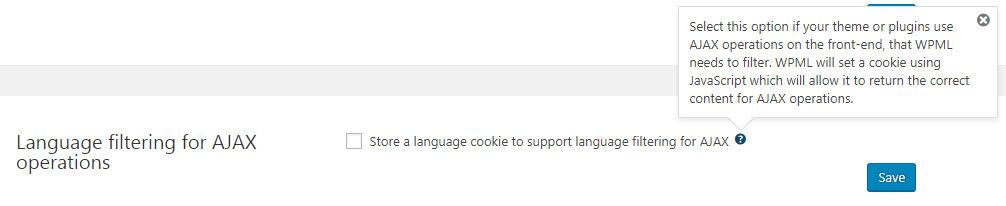
WPML Language filtering for AJAX options setting
- Translation Feedback – Enable the translation feedback module
WPML Translation feedback setting
For more information about WPML’s settings you can reference their documentation.
More Topics In Awesome Support Core: WPML
- WPML: Introduction
- WPML: Set Up Awesome Support For WPML
- WPML: Set Languages For Awesome Support Pages
- WPML: Set Up The Language Switchers
- WPML: Setting Localization Options
- WPML: Find All Strings For Awesome Support
- WPML: Translating Awesome Support Pages
- WPML: Translating Awesome Support Taxonomies
- WPML: Translate Administration Panel Items