Advanced Configuration Options
Client Tickets includes an OPTIONAL configuration server add-on for Awesome Support that runs on your Awesome Support server. With it you can control what custom fields are shown to each client and where on the user interface the custom field is shown.
Install The Client Tickets Options Add-on
On your server where Awesome Support is installed:
- Download the Client Tickets Options Plugin file to your desktop from the links provided in your purchase receipt or from your Account screen (Note: this file might also be called Client Tickets Configuration Server)
- In the WordPress Admin dashboard select Plugins->Add new
- You should now see a screen with the list of plugins that are installed on your system. At the top left is a button labelled Upload Plugin. Click on it.
- You should see a dialog box asking for the plugin file. Navigate to your desktop and choose the file you downloaded in the first step of this procedure then click the Open button at the bottom of the dialog box
- You should now be back in the main Add plugin screen with the filename filled out. Just click the Install Now button.
- If all goes well you will see a new screen with a link that says Activate Plugin. Click on it. That will complete the plugin installation process.
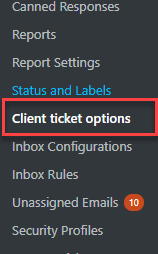
After its installed and activated you should see a new menu option under TICKETS:
Create An Option Set
You can create option sets that can then be assigned to one or more of your customers. To create a set,
- Go to TICKETS->CLIENT TICKET OPTIONS
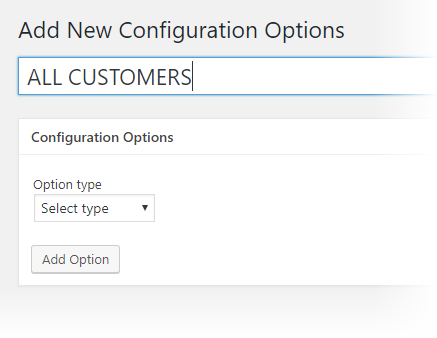
- Click the ADD NEW button at the top of the screen
- Enter a Title such as “ALL CUSTOMERS” or “VIP”.
- Then, click the ADD OPTION button to add your first option.
You will then see a single drop-down asking for an Option Type. The option type that will be most important at this time is the CUSTOM FIELD option:
After selecting the CUSTOM FIELD option type, you will then see two additional drop-downs:
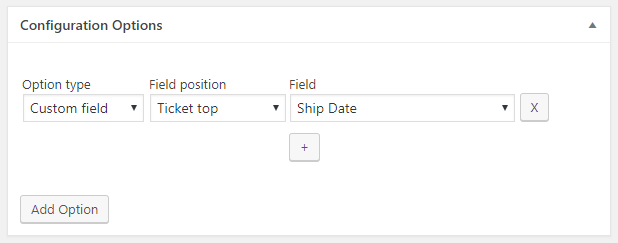
The Field Position drop-down gives you three options for where a custom field should go:
- Ticket Top: At the top of the ticket when viewing a ticket in a desktop
- Ticket Top Mobile: At the top of the ticket when viewing a ticket in a small or mobile view
- Open Ticket: Available when the user opens a ticket – allows them to submit data in the custom field
The Field option drop-down contains a list of custom fields that are defined in Awesome Support. You can add more than one field to each option if you like.

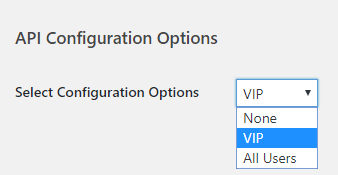
Assign An Option Set To A Customer
You can assign an option set to a customer in the user profile screen on your server. In the user profile screen you should find a new section titled API CONFIGURATION OPTIONS. There will be a single drop-down in that section that shows the list of configuration sets: