Create Your First Documentation Item (Topic)
To create your first documentation item/topic simply go to DOCUMENTATION->Add Documentation menu item. This will bring up a screen similar to the following:

Proceed the fill out the following items:
- Title
- Main Contents
- Associate the item with a product: Click the Add New Product link in the Products metabox on the right
- Associate the item with a chapter: Click the Add New Chapter link in the Chapters metabox on the right
- Optionally create categories, sections and versions using the metaboxes on the right
- Optionally create tags using the tags metabox on the right
- Click the Publish button
That’s it – you’ve created your first item.
Tip: If you don’t have chapters you can simply create one with the name “All Topics”.
Note: Only items that have Products and Chapters associated with them will automatically be included in the front-end documentation screen. You can create other items without them. But, in order for users to find those topics you will have to link to them manually via a menu or some other mechanism. Otherwise, they will remain hidden.
View Your First Documentation Item
When you published your item WordPress created a link that you can use to view it. This link is located just below the title of your newly published item:
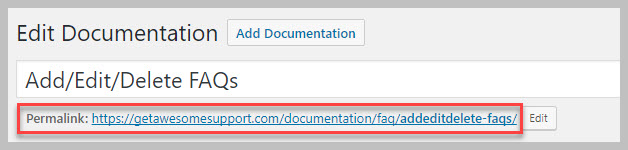
Just click on the link to view your new item. You can copy the link and use it in any WordPress menu.
Tip: To view all documentation items you only need one link. Any documentation link will bring up the full documentation screen showing all documentation items
More Topics In Documentation
Search