Configure Outgoing Emails
After you have selected the ticket events you would like to be notified about, you will need to configure the content of the emails that are sent when those events trigger.
- Go to the TICKETS->SETTINGS->NOTIFICATIONS tab.
- Scroll down until you see the start of the email section
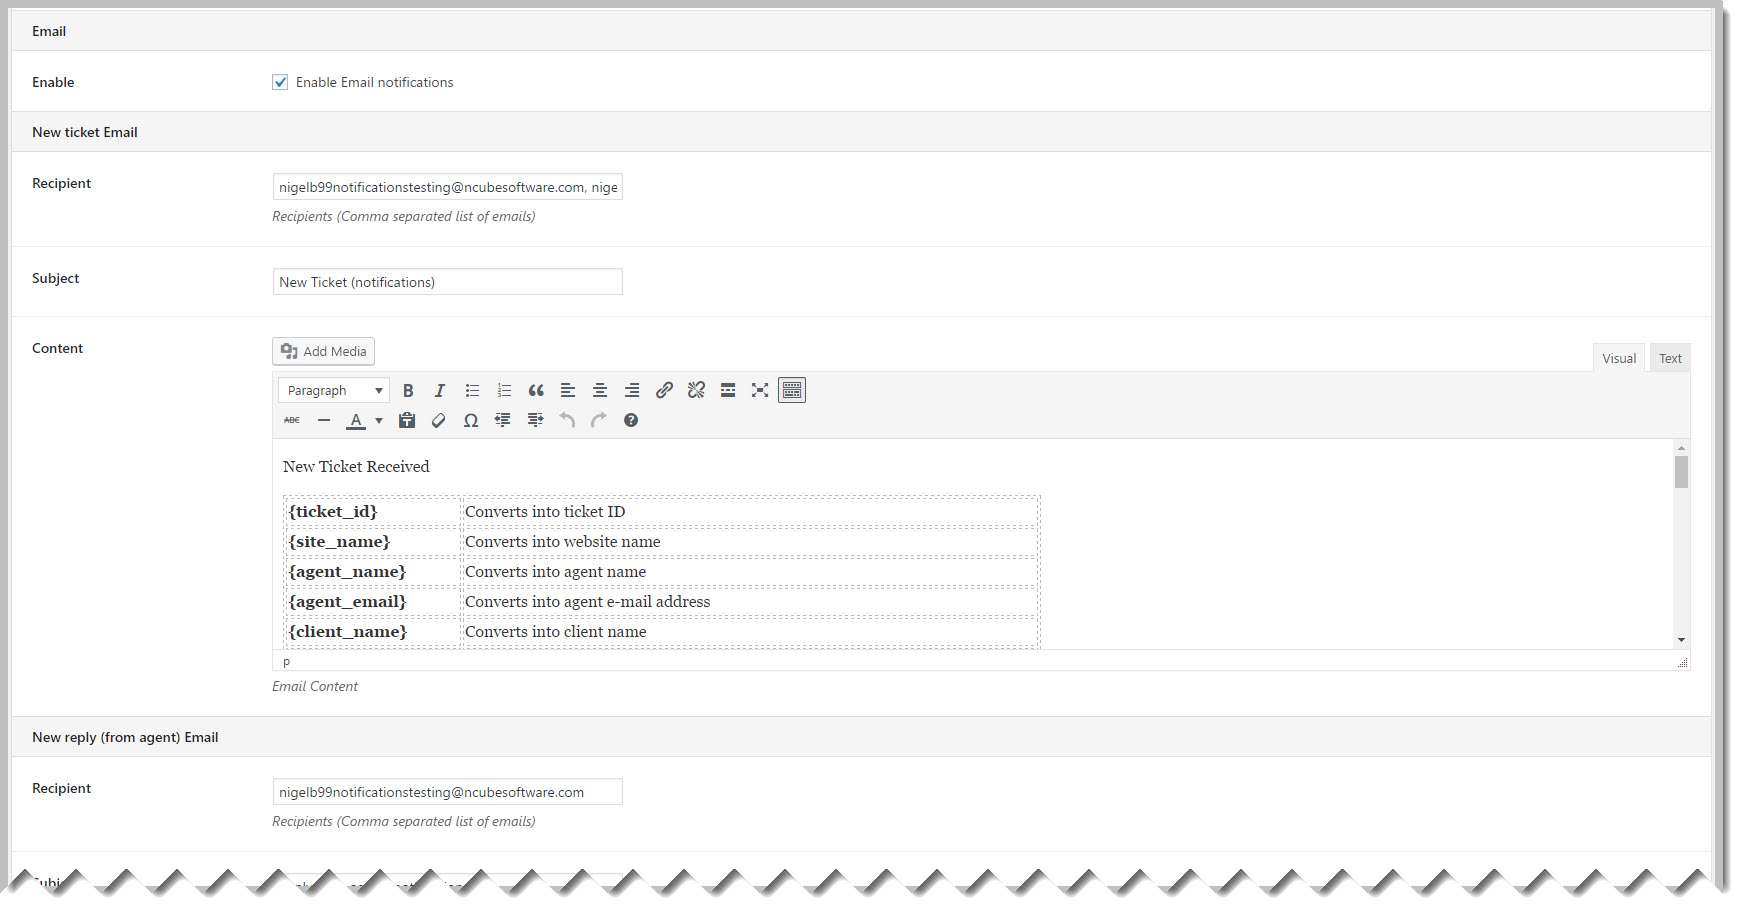
- Click the checkbox next to Enable Email Notifications
- Scroll down to find the email template for each event that you activated.
- Recipients are regular email addresses with each address separated by a comma
- You can use email template tags such as {ticket_id} and {client_name} in the body of the email
- When you have finished updating all your email templates, scroll all the way down and click the Save Changes button at the bottom of the page
Note: A list of email template tags are located here: Reference: Email Template Tags
You can view the most up-to-date email template tags as follows:
- Go to the TICKETS->SETTINGS->E-MAILS tab
- Click on the HELP link on the upper right side of the page
- Click on the Email Template Tags tab
More Topics In Notifications
Search