WPML: Translating Awesome Support Taxonomies
Translating Awesome Support’s taxonomies
Awesome Support comes with multiple custom taxonomies which will need to be translated by WPML. The taxonomies we will be covering are: Departments, Products and Priority.
First, we should create sample data for each of these taxonomies. The following Awesome Support documentation pages outline how to do this:
In this example we have created three priorities in our default English version:
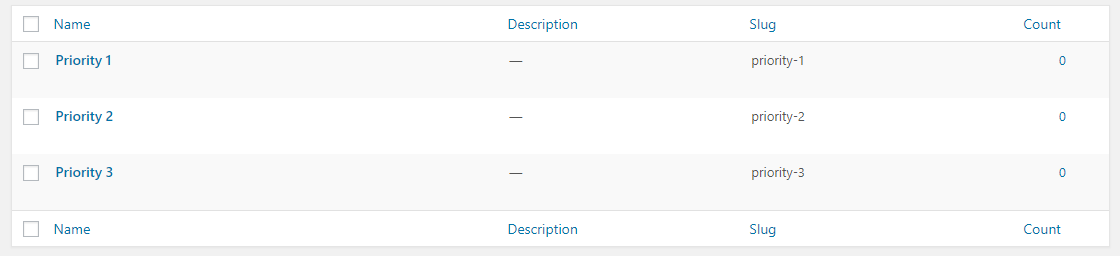
Viewing all priorities
We have two products:

View all products
We also have two departments:

View all departments
Now that we have created our initial taxonomy data we need to translate them in each language that we require. To do this we need to access the “Taxonomy Translation” page in the administration panel:
![]()
When the page has loaded you will only see one dropdown box to choose the taxonomy that we want to translate. We will start with “Priorities”:
Beginning Priority taxonomy translation
The process is similar to translating pages. We will need to click the “+” symbol in the language that we require. Once we click on the symbol an overlay will appear and we can make our translations:
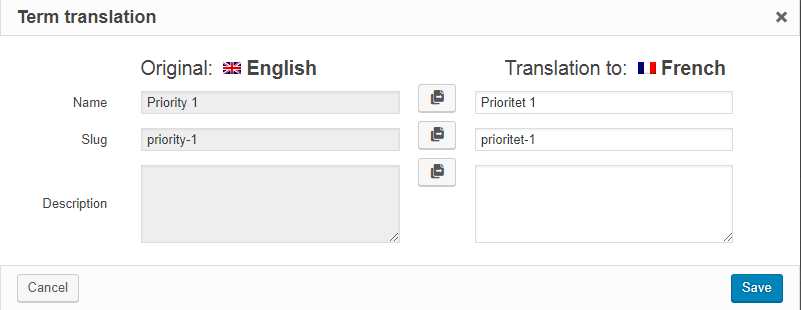
Priority term translation overlay
In this example we will translate all three of our created priorities in French and German. After this is done we will see the pencil symbol in each language that we have translated:
Priorities after completing translation
The bottom section also allows the labels used in the admin panel to translate the strings. The method to do this is exactly the same as outlined above.
This same process should be repeated for the other taxonomies.
Once the taxonomies have been translated we can check the front end pages to see that the taxonomies have been translated. To do this we will create a new French ticket and check the “Submit Ticket”, “My Tickets” and Single Ticket pages.
Setting the “Priorities” colours after translation
Although the process for creating translated taxonomies is the same, priorities requires an extra step. Because they can have a custom colour assigned to them we need to re-enter the colour assigned to them after the translation has been created. So, to do this we need to access the “Priorities” screen in the administration panel:

Once the page has loaded you will need to change the language version to the one you want to add colours to, French is used in this example:
![]()
Once this has been completed you should see the translated taxonomies:
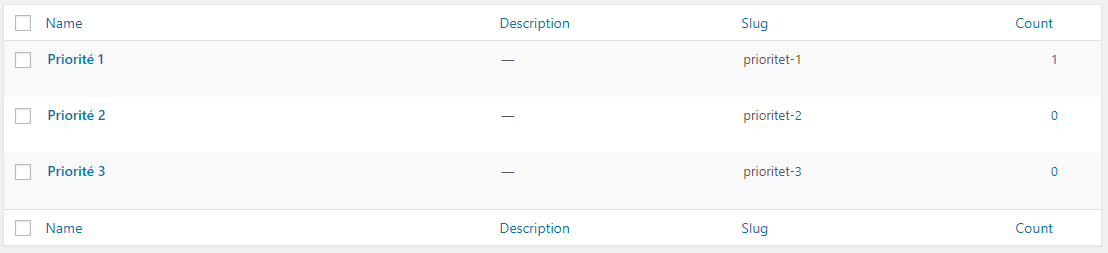
Viewing all priorities in French version
You will then need to edit each one and assign the correct colours:
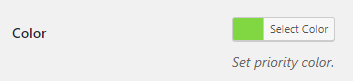
Setting the priority colour
Checking taxonomies on the “Submit Ticket” page
On the “Submit Ticket” page we will enter some dummy text and check the “Department”, “Product” and “Priority” fields to make sure that they have our translated strings:
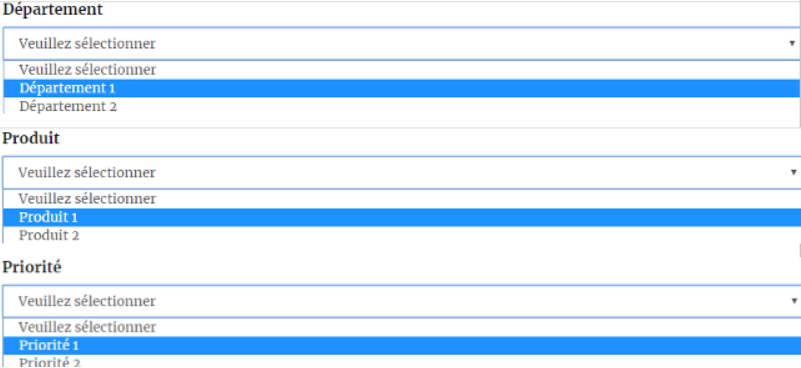
Checking taxonomy values on the frontend
Here we can see that each translation is correct so we can submit the ticket and check the other pages.
Checking taxonomies on the “My Tickets” page
Once we have accessed the pages we need to check that the “Product”, “Department” and “Priority” columns have our translated text (along with the correct colour for “Priority”):
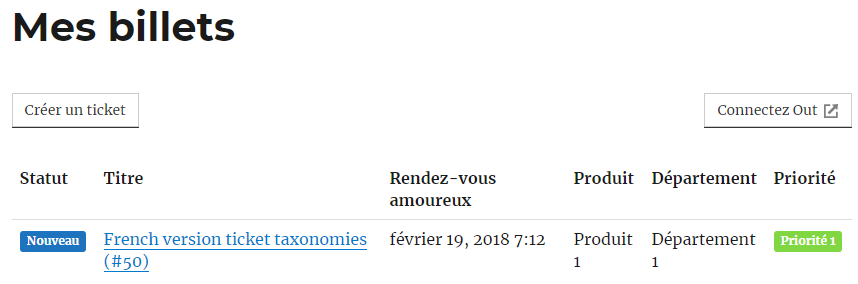
Checking the taxonomy translations on the My Tickets page
Checking taxonomies on the Single ticket page
Like the “My Tickets” page we need to check the “Product”, “Department” and “Priority” (along with the priority colour) columns to make sure that the correct translated strings are displayed:
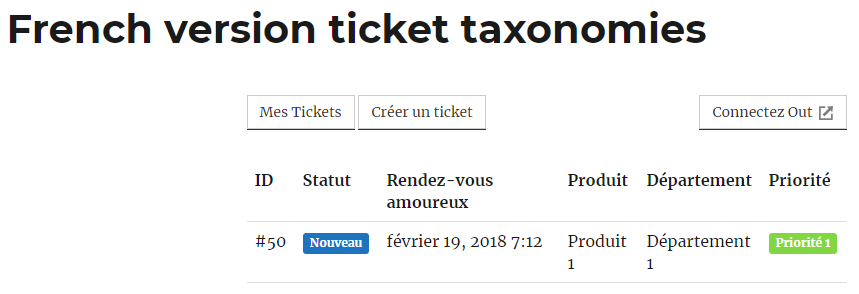
checking taxonomy tanslations on the Single Ticket page
More Topics In Awesome Support Core: WPML
- WPML: Introduction
- WPML: Quick Installation Guide
- WPML: Set Up Awesome Support For WPML
- WPML: Set Languages For Awesome Support Pages
- WPML: Set Up The Language Switchers
- WPML: Setting Localization Options
- WPML: Find All Strings For Awesome Support
- WPML: Translating Awesome Support Pages
- WPML: Translate Administration Panel Items