Polylang: Installation and Configuration
Initial Polylang set up
First you will need to activate the Polylang plugin. To do this you will need to click on the “Plugins” menu node on the WordPress administration panel and click on the “Activate” link under the Polylang label:
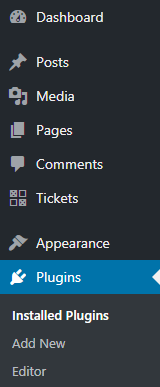

Once the Polylang plugin has been activated you will see a “Languages” menu node:
Once the plugin has been activated the next thing that needs to be done is to add a new language for the website. In this example we will create three languages: a default language provided by Polylang, a second language provided by Polylang and another that we create ourselves.
We will be adding the French language first. To do this you will need to find the language in the “Choose a language” dropdown input. Once you have selected it the rest of the fields on the “Add new language” page will populate automatically. You will then need to click on the “Add new language” blue button to add the language:
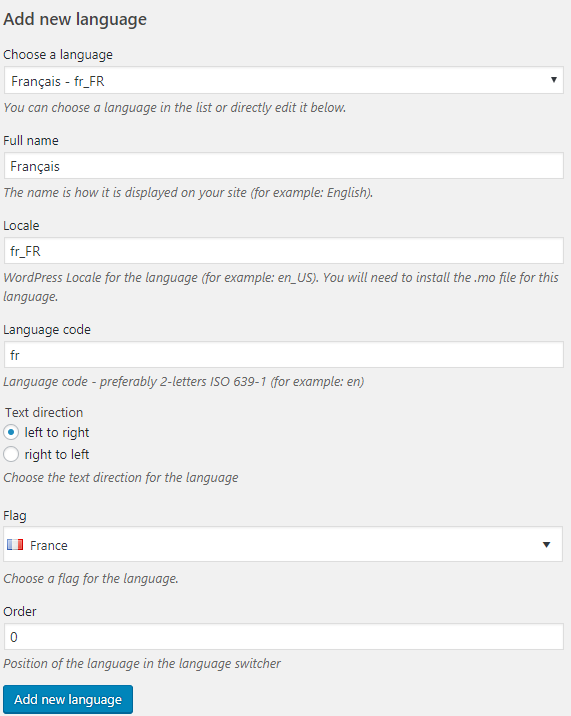
Adding the French language in Polylang
In the case where the “Choose a language” drop down does not contain the language that you want to add to the website you can still manually add the language. To do this you will need to leave the “Choose a language” drop down blank and then fill out the rest of the fields yourself. The “Full Name” field will be the label of that language.
For the “Locale” field you must enter the exact WordPress locale for that language. An extensive list can be found here.
The “Language code” field should be 2 character lowercase ISO language code. You can find an extensive list here.
Below is an example of manually adding Swahili through Polylang:

Adding the Swahili language manually in Polylang
Once you have added the languages for the website you will see on the right side of the “Languages” page each language:
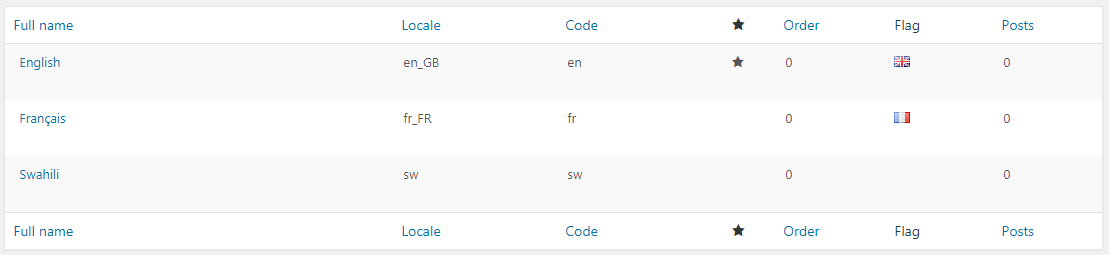
Viewing all languages in Polylang
Note: The English language has been added through the same process as the French language.
Here you will also see a star icon in the column which shows the current default language. If you would like to change this you can hover your mouse over the star area of the language you would like and click it to set the default language.

Polylang setting a default language
Also, when the language(s) have been added the “Settings” page of Polylang will have a list of settings which you can change to suit your requirements:
URL modifications – this is how the URL will display for each language.
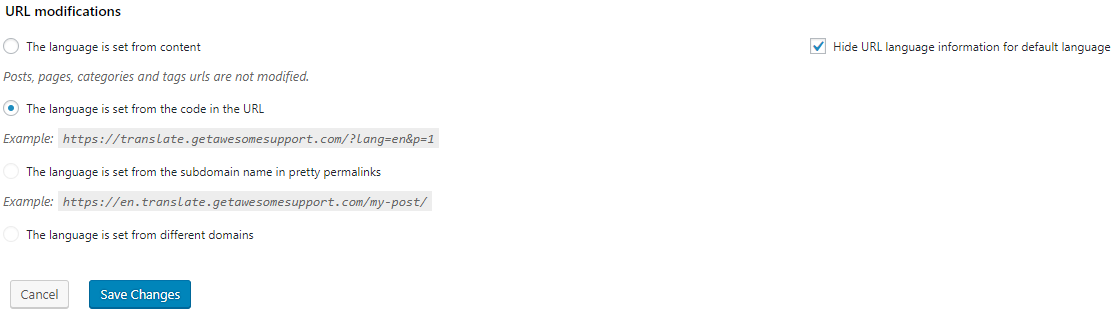
Polylang URL modifications setting
Detect browser language – Sets the language of the website based on the user’s browser preference.

Polylang Detect browser language setting
Media – Allows for translations on media in WordPress.
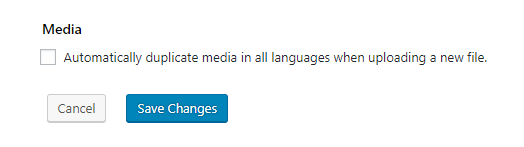
Polylang Media setting
Custom post types and Taxonomies – activates language and translation management for custom post type and taxonomies. We will configure this section later when we set up the Awesome Support plugin.

Polylang Custom post types and Taxonomies setting
Synchronization – synchronizes meta content between the translations of different pages and posts.

Polylang Synchronization setting
Tools – allows the removal of all data if Polylang is deleted.

Polylang Tools setting
License keys – add your Polylang Pro/Polylang addons license key.
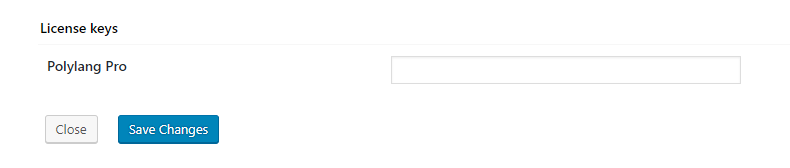
Polylang Licesnse key setting