Polylang: Setup Awesome Support
Initial Awesome Support set up
You will need to access the “Plugins” section of the WordPress administration panel and activate “Awesome Support”:

Once activated you will see a “Tickets” menu node:
![]()
Also, when on the “Pages” section of the administration panel you will see that Awesome Support has created two new pages: “My Tickets” and “Submit Ticket”.

Edit screen for Awesome Support pages
Before we make additional configuration for Polylang to work with Awesome Support we should create at least one new user with the role of “Support User”. There are two ways to do this: through the “Submit Ticket” front end page (if a user is currently not logged in) or through the administration panel. In this example we will create one “Support User” and one “Support Agent” in the administration panel.
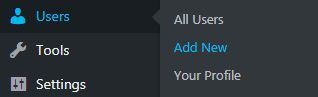
When in the administration panel hover your mouse over “Users” and click on “Add New”:
You should create a user in the same manner as normal, however, you will need to set a specific role. For the “Support User” the role needs to be “Support User”:
![]()
For the “Support Agent” the role needs to be “Support Agent”:
![]()
The final configuration we need to do is to enable Awesome Support‘s taxonomies with the Polylang plugin. To do this you will need to access Polylang’s settings and locate the “Custom post types and Taxonomies” setting. Once this section has been expanded you will see a “Custom taxonomies” section. From there you will need to check any custom taxonomies that you want to translate. For a minimal experience we will be checking the “Products“, “Department” and “Priorities” taxonomies:
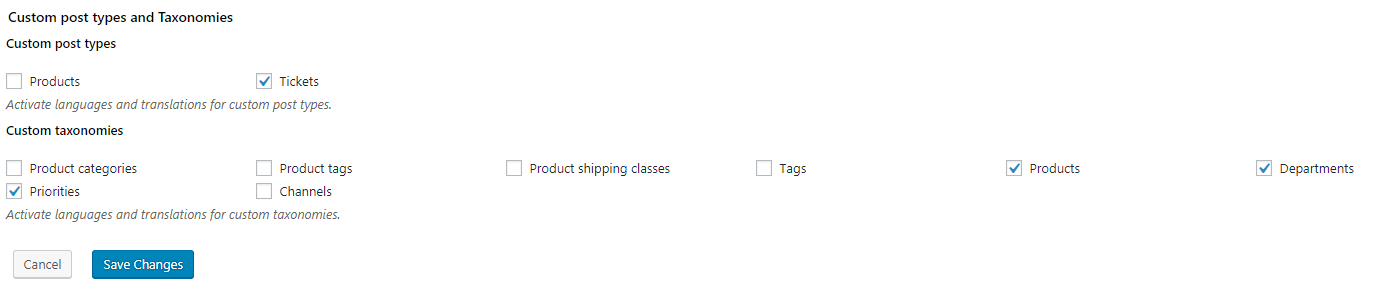
Enabling Awesome Support’s post type and custom taxonomies in Polylang settings
More Topics In Awesome Support Core: Polylang
- Polylang: Introduction
- Polylang: Prepare Plugin Translation Strings
- Polylang: Installation and Configuration
- Polylang: Translate Awesome Support Pages
- Polylang: Translate Awesome Support Page Contents
- Polylang: Translating Awesome Support Taxonomies
- Polylang: Translating The Administration Panel Items