Managing Mailbox Rules
In later versions of the Email Support add-on you can create rules that control how an incoming email is handled. Here are some examples of what you can do with rules:
- Create custom email commands that transfer tickets, update statuses or otherwise take action on a ticket without logging into the admin dashboard
- Identify and skip or delete SPAM or out-of-office messages
- Move tickets to a holding area (unassigned folder) for further review before adding them to the system
Rule Types
You can specify the following types of rules:
- Deletion rules (delete the email – do not save it as a ticket)
- Move to the UNASSIGNED folder
- Update ticket with specified values (probably the most common action you will take with rules)
- Close the ticket
- Skip the message and leave it in the inbox
You can create rule profiles by going to the TICKETS->INBOX RULES menu option.
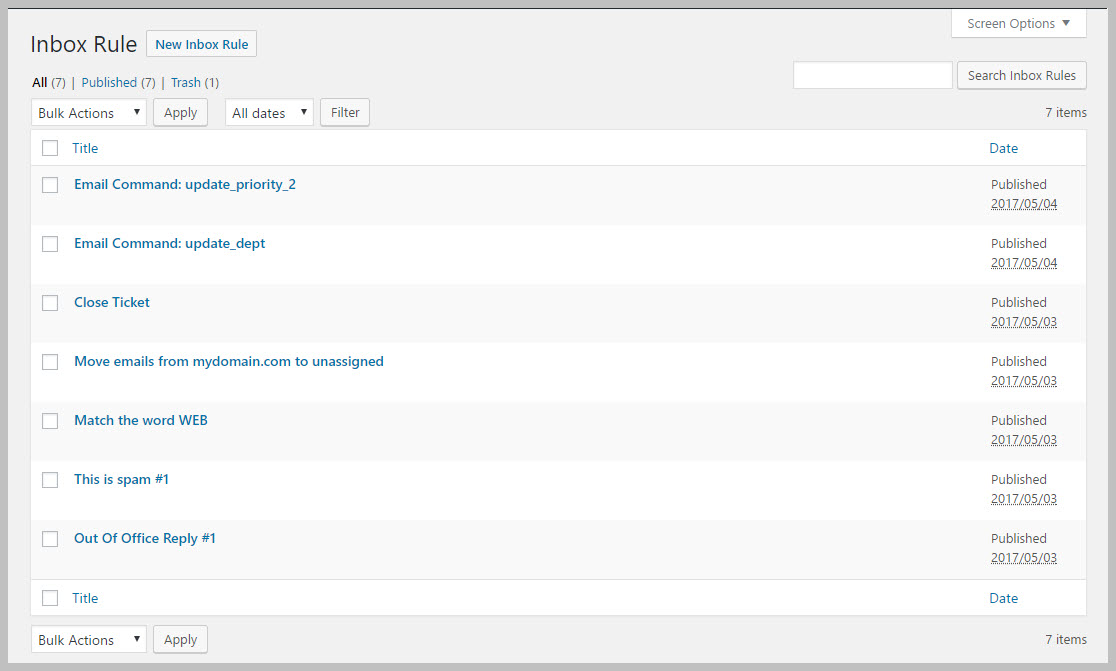
Add A New Rule
You can create a new mailbox rule by going to the TICKETS->INBOX RULE menu option and clicking the New Inbox Rule at the top of the screen.
When you create a new inbox rule you will see a screen that has two parts. The first part is where you input information about what the rule does. The second part is where you provide any additional information the rule needs in order to perform the actions selected in the first part of the screen.
Here is what the first part looks like:
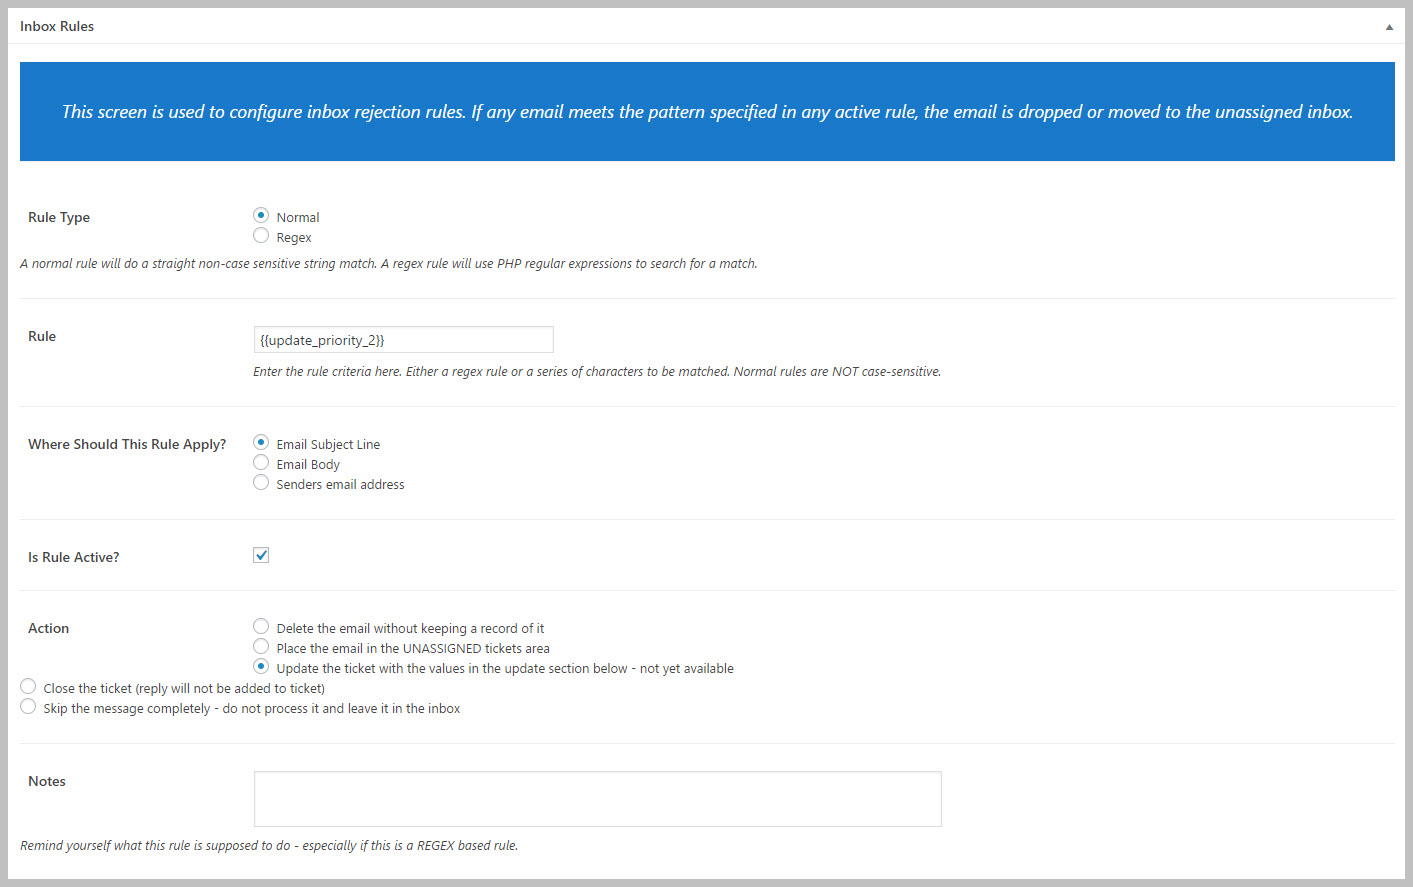
- Rule Type: You can scan for data in the incoming email using either a simple string match – the “normal” option or using a more advanced matching algorithm created using Regex rules.
- Rule: For a normal rule type, simply enter the string that you are searching for in the incoming message. For a regex rule type this is where you will enter the regex condition that will be applied to the incoming e-mail.
- Where Should This Rule Apply: Decide which areas of the ticket you would like to search for your designated string or regex match. For special handling of emails from VIP customers you can search for a particular email address or domain.
- Is Rule Active: Check this box to turn on the rule. Left unchecked, the rule is turned off and not processed against incoming messages.
- Action: Choose the action that will be performed on the ticket / message if the rule matches against the incoming message. There are five actions you can take.
As you’re filling out this information don’t forget to fill in the TITLE at the top of the screen. The title is just a user friendly name used to identify the mailbox rule.
To save the rule you can click the PUBLISH or SAVE button on the upper right of the screen.
Updating Ticket Data
If you specify that data should be updated on a ticket when a match is found, set the data in the second part of the rule configuration screen:

Other Notes
While you can have multiple rules only one rule will be executed against each email message. Once a match is identified all other rules are skipped for the current message.
More Topics In Email Piping and Support
- E-Mail Support (Introduction)
- Installation (E-mail Piping)
- Configuring Email Support / Email Piping
- Creating New Tickets Via Email
- Gmail Considerations
- Handling Replies To Closed Tickets
- Reference: Email Template Tags
- Hooks And Filters (E-Mail Support Add-on)
- Incompatible WordPress Hosts
- Managing Multiple Mailboxes
- Useful Mailbox Rules
- Handling Unassigned Emails
- Email Support Advanced Topics
- Troubleshooting
- Pre-Built Email Templates
- Email Template Samples
- Switching Email Template Sets