Smart Chat
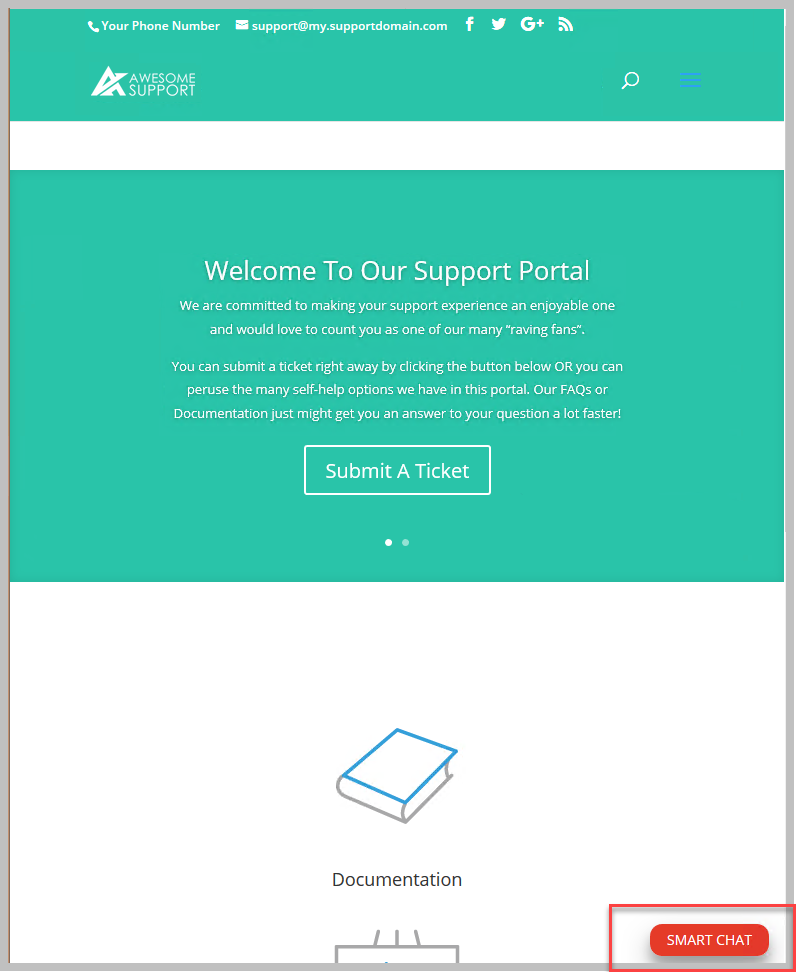
You can enable a smart chat button on your website so that users can submit questions that are answered automatically via search. By default the SMART CHAT button is shown on the lower right of website pages as shown in the image below:
When clicked, the SMART CHAT window looks similar to the following:

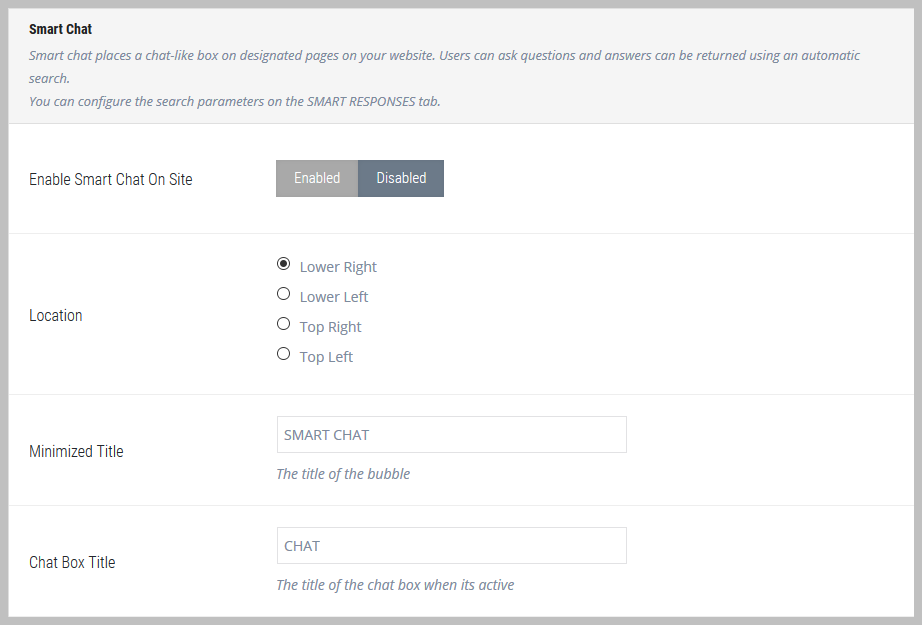
You can configure SMART CHAT by going to the TICKETS->SETTINGS->SMART CHAT tab.
The first few options you see will control the location and some of the default text in the chat window. These are self explanatory.
After that you will see options for the following:
Messages
- Welcome Message: This is the message that shows up in the chatbox as soon as the user choose to open it. In the example chatbox we showed above, we configured this message to say Welcome to our smart chat powered by Googles AI engine. You can search for stuff by simply entering a key phrase here. The default text is set to Welcome to smart chat though.
- Reply Header: This is a string of text that will be added to the top of the all the search results that is sent back to the user. It is only sent if there is at least one search result to send.
- Reply Footer: This is a string of text that will be added to the bottom of the all the search results that is sent back to the user. It is only sent if there is at least one search result to send.
- Fallback Message: This is the message that will be sent to the user if there are no search results.
- Placeholder Text: This is text you will see in the area where the user will type their question – it defaults to Type your message here.
UI Options (Colors and Fonts)
- Primary Color: This controls the overall color of the chat box interface.
- Font and Size: There are multiple options here that control the fonts and sizes for a variety of elements in the chatbox interface.
Locations (Include/Exclude Options)
You can choose which pages will show the chatbox.
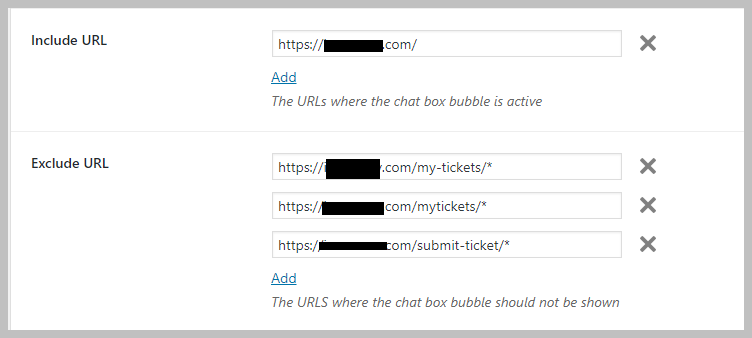
- Include URL: Controls which website pages the chatbox will be displayed on
- Exclude URL: Controls which website pages the chatbox will NOT be displayed on
- Show on all pages: Will force the chatbox to be shown on all website pages EXCEPT those specified in the EXCLUDE URL setting. This is useful if you really want to the box to show up all pages except a few.
New Ticket Options
Under certain circumstances you can allow the user to open a new ticket directly from the chat box.
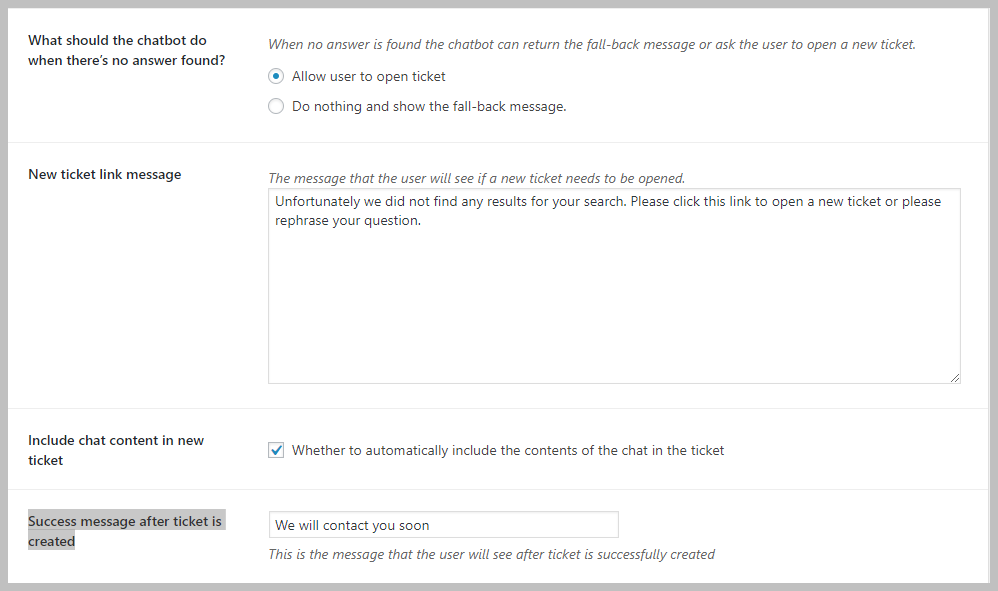
- What should the chatbot do when there’s no answer found: If no answer is found you can set this option to allow the user to open a new support ticket or simply to send the fallback message.
- New ticket link message: If you choose to allow the user to open a new ticket, this is the message that will be shown to them. By default it is set to Unfortunately we did not find any results for your search. Please click this link to open a new ticket or please rephrase your question.
- Include chat content in new ticket: Whether to automatically include the contents of the chat window in the new ticket that is opened. We recommend that this be turned on.
- Success message after ticket is created: What do you want the user to see after the new ticket is submitted?
More Topics In Smart Replies
- Smart Replies with Integrated AI
- Introduction to Smart Replies
- Installation
- Smart Replies To New Tickets
- Facebook Messenger Chatbot
- Configure Automatic Responses and Replies From PostTypes And Keywords
- Automatic Keyword Extraction With Google Natural Language
- Artificial Intelligence With Dialogflow (Formerly API.ai)
- Fulfillment with API.ai
- Troubleshooting
Search