Zapier Actions
You can send data to Zapier as a result of a ruleset being triggered. However, setting up the integration to Zapier is a multi-step process that involves simultaneous actions in the Ruleset you’re configuring and in Zapier.
Set up Skeleton Zap
The first step is to set up the skeleton Zap inside zapier itself. To do this:
- Log on to Zapier
- Click the bright orange button at the top of the screen labeled MAKE A ZAP
- In the list of apps that is shown select WEBHOOKS. If Webhooks isn’t shown search for it in the search box and then select it
- Click on the radio button labeled CATCH HOOK and then click the blue SAVE + CONTINUE button.
- When presented with the PICK Off A Child Key option, skip this for now and click the CONTINUE button.
- You will be presented with a url that is the “hook”. Copy it to your clipboard and store it in a notepad so that you can use it later.
NOTE: DO NOT CLOSE THE ZAPIER WINDOW OR NAVIGATE AWAY FROM IT
Set up the Zapier Action in the Rule Set
Now that you have a webhook from Zapier you can tell the ruleset about it.
- Open your ruleset (or create a new one)
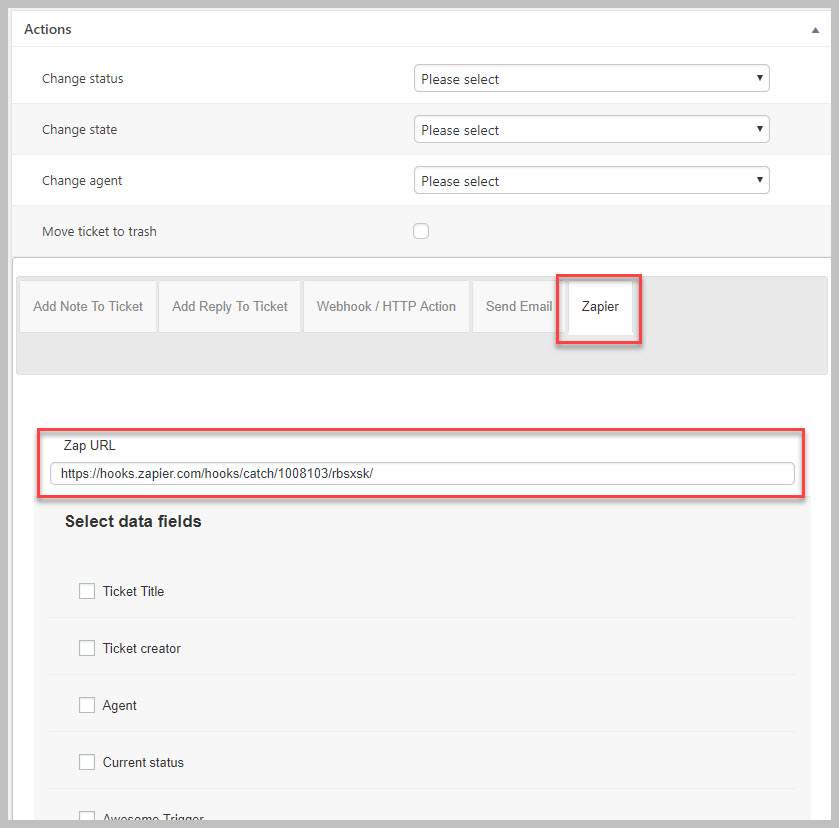
- In the actions section click the ZAPIER tab
- In the ZAP URL field enter the webhook you retrieved
- Check off the data fields you would like to send to Zapier
- Click the UPDATE or PUBLISH button
- Scroll back down and click the SEND TEST ZAP button.
Continue Setting Up Data in Zapier
- Switch back over to your Zapier screen and then click the OK, I DID THIS button. Zapier will search for the test data being sent
- If Zapier finds the test data sent it will give you a TEST SUCCESSFUL message and you can then click the CONTINUE button.
- At this point you can configure the APP you will integrate into.
Search