WPML: Set Up The Language Switchers
Setting up the language switcher on the menu (optional)
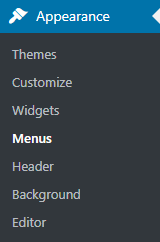
Now that each of Awesome Support‘s pages have been translated we can add these to the language switcher to the main menu. To do this on the administration panel’s left menu hover over “Appearance” and click on “Menus”:
First, we will create the first menu for the website’s original language which in this example is English:

Creating new English menu
Once the menu has been created the two Awesome Support pages need to be added to the menu:
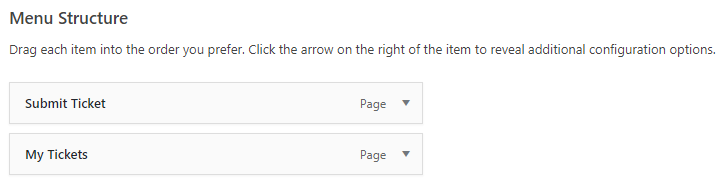
WordPress creating menu structure
In the “Menu Settings” section you will need to set the correct “Display location” for your menu. In the below example we are using the Twenty Sixteen theme:
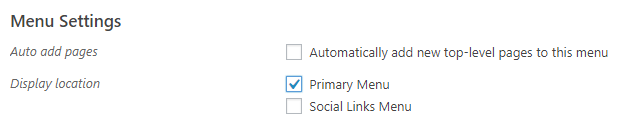
WordPress menu settings
Now you will need to create a menu for each other language. On the left side of the Edit menu page you can click the language name:

WordPress menu choose language
You will then need to set the “Translation of” to be of the first menu you created in the website’s original language:
WordPress menu translation of setting
Once the menu has been created you have two options: manually add each page or click on the “Synchronize menus between languages” link.
We will use the synchonize option. This will load the “WPML Menus Sync” page. You will then need to click on the blue “Synchonize” button:
![]()
For each language’s menu you will then need to edit each menu node’s text and translate the label to the language that you want. Below is an example of the French menu:
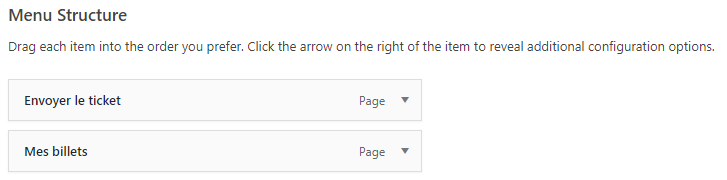
WordPress French menu structure
Add the language switcher to the menu
Now that the menus have been set up for each language we will need to add the language switcher to the menu. To do this click on the “WPML” link on the left menu in the administration panel:
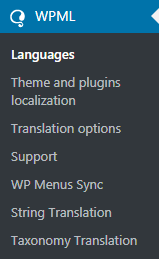
When the page has loaded locate the “Menu language Switcher” section and click on the “+ Add a new language switcher to a menu” button:
WPML Menu language switcher button
When this button is clicked an overlay will appear. The minimum configuration you will need to do is choose a value on the “Menu:” dropdown. The other options relate to how the language switcher displays. Once you have made the relevant changes click on the blue “Save” button. Now once you go to the front end of the website you should see the menu with the language switcher:

WPML Frontend language switchers
More Topics In Awesome Support Core: WPML
- WPML: Introduction
- WPML: Quick Installation Guide
- WPML: Set Up Awesome Support For WPML
- WPML: Set Languages For Awesome Support Pages
- WPML: Setting Localization Options
- WPML: Find All Strings For Awesome Support
- WPML: Translating Awesome Support Pages
- WPML: Translating Awesome Support Taxonomies
- WPML: Translate Administration Panel Items