Configure Email Templates
One of the actions that can be performed when a ticket or reply matches a ruleset is to send an email. In order to send an email you have to first set up an EMAIL TEMPLATE.
An EMAIL TEMPLATE contains the contents that you want to send in your email – along with email template tags acting as placeholders for data specific to each ticket.
An email template can be used by one or more rulesets. For most use-cases you might only need one or two email templates.
Create an Email Template
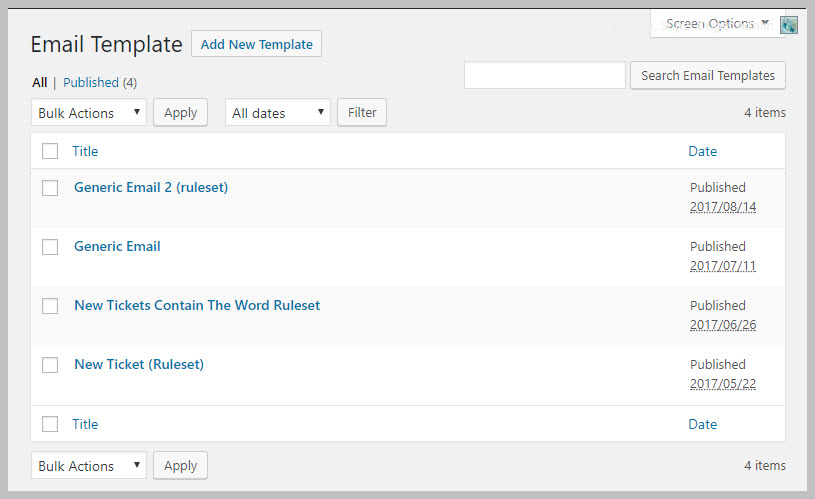
- Go to AS RULESET->EMAIL TEMPLATE
- Click on the Add New Template button at the top of the screen
- Enter a Subject for the outgoing email
- Enter the contents of your email
- Click the PUBLISH button on the right hand side.

Using An Email Template
To use an email template in a rule set:
- Click the Send Email tab under the ACTIONS section of the rule set
- Enter one or more email addresses in the Send Email field
- Click the drop-down beneath the Send Email field and select your template.

You can also send email to predefined users on a ticket (Agent, customer, etc). Just check the box next to the user type and then select a template from the drop-down.

Email Template Tags
As with all email templates in Awesome Support you can insert special tags into the email template that will be replaced by data from the ticket or reply at the time the email was sent. These tags are generally enclosed by curly brackets.
The available tags will depend on the add-ons you’ve installed. However, you can find a list of all the available template tags as follows:
- Navigate to the TICKETS->SETTINGS-EMAILS tab
- Click the HELP tab in the upper right of the screen.
- Click the EMAIL TEMPLATE TAGS tab on the right of the pop-down that is displayed
Some common template tags are located in our Email Add-on guide.