WPML: Translating Awesome Support Pages
Translating each Awesome Support page
If you have followed the instructions in the previous sections then all minimum configurations have been completed and we are ready to translate the Awesome Support pages. We will now go through step by step each of Awesome Support‘s pages and translate missing strings using WPML’s String Translation.
Starting translation of the “Submit Ticket” page
To begin the process we will use a web browser which isn’t logged into the website to simulate a support user. In this example we will be using Google Chrome with the website loaded in incognito mode.
On the front end of the website we will use the language switcher in the menu to access the French version of the website:
We will then click on the “Submit Ticket” link on the menu (which in this case is “Envoyer le ticket”).
Translating the “Submit Ticket” register/login forms
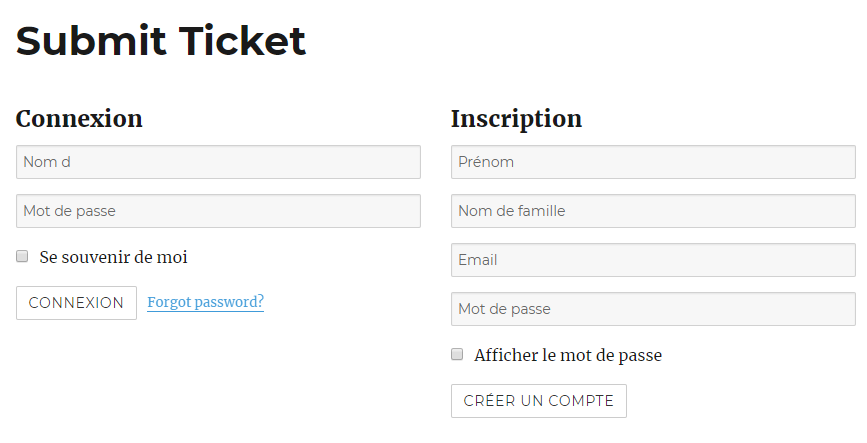
Below is how the initial page looks like:
As we are not logged into the website we are presented with the registration/login forms. So far on the French language version we can see two untranslated text: “Submit Ticket” and “Forgot password?”.
First, we will translate the “Submit Ticket”text. This is the actual title of the page. So, to translate this we will go into the administration panel and access the French version of this page:
We then will change the “Submit Ticket” title to the French equivalent and update the page:
Now if we reload the “My Tickets” page on the front end you should see the title update successfully:
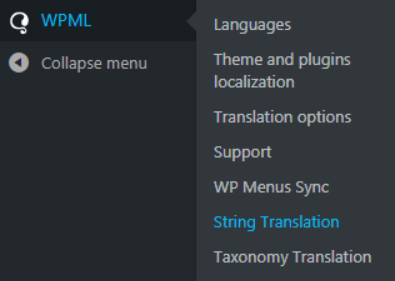
Next we will look at translating the “Forgot password?” text. To do this we will be using WPML’s String Translation. In the administration panel hover over the “WPML” menu node and click on “String Translation”:
This area covers all text domains throughout the website. As we are translating the Awesome Support plugin you will find the Awesome Support text domain (awesome-support) in the “Select strings within domain:” option:
Afterwards, enter the string you would like to translate in the “Search for:” field and press the “Search” button:
Once the search has been completed the translatable string(s) for that search term will appear:
The next step is to click on the “translations” link. This will show translations of this string for all of the languages on the website. Once the translated text has been entered you will need to check the “Translation is complete” checkbox and click the “Save” button. This must be done for every language that you have translated. Below is an example of the French translation:
In some cases you may get a translation suggested which is highlighted in yellow. The process will be the same to translate the text but the checkbox will be labelled “Use my translation”. The German version gives an example of this:
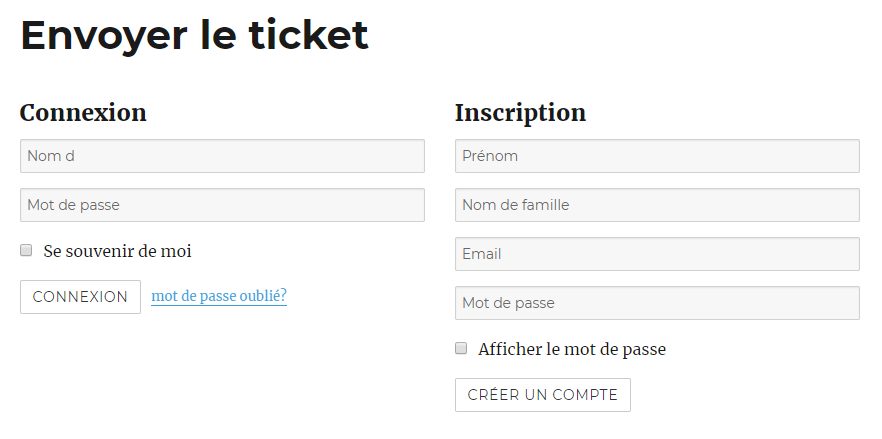
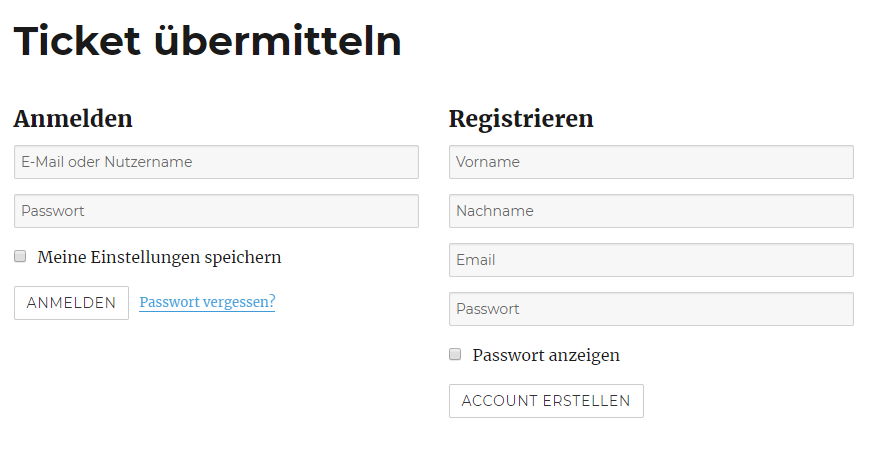
Now, if we check the front end of the website and check each language version the strings should be translated.
Note that the method to change the title in German has been omitted as it is exactly the same process as which was used in the French version.
French:
German:
Note that when translating the login/registration forms when clicking the submit button the text will change, so check that the translation works for the language that you are changing, otherwise you will need to do the string translation process to change this text.
Translating the “Submit Ticket” logged in form
Now that the support user is logged in, when they access the “Submit Ticket” page they will be able to see the submit ticket form.
In this part of the guide we will not cover taxonomies which Awesome Support provide. Instead, they will be covered in section 8.
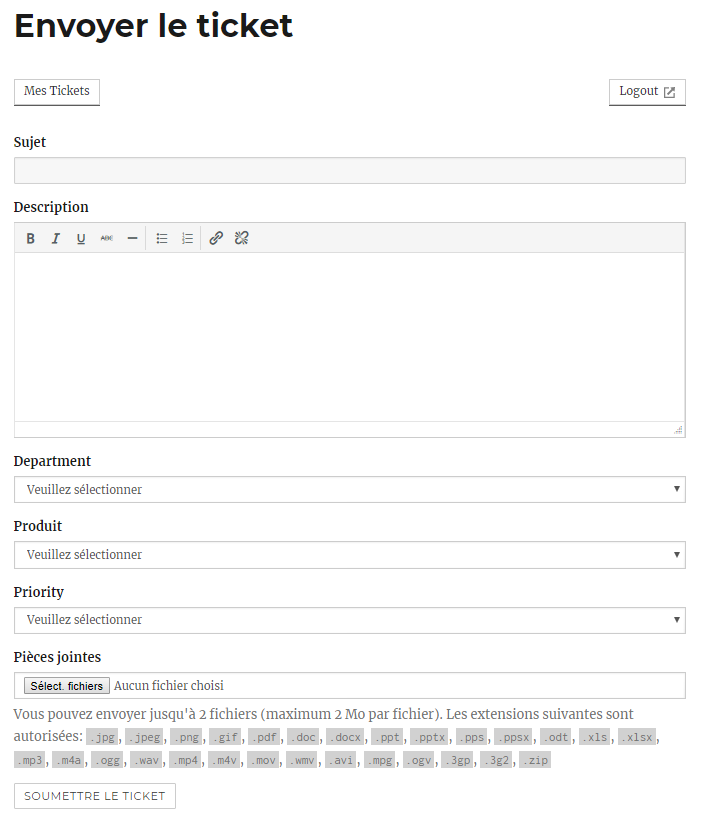
First we will see how the French version of the page looks:
Here we can see the following strings that need to be translated:
- Logout
- Description
- Department
- Priority
To translate these strings we will be using WPML’s String Translation. In the administration panel hover over the “WPML” menu node and click on “String Translation”:
As before we need to select the “awesome-support” text domain so we only search strings from the Awesome Support plugin:
We then search for the first string “Logout”:
Like before we need to click on the “translations” link and find the language that we want to translate for, which in this example French. After the translation text has been changed the “Translation is complete” checkbox should be checked and the “Save” button should be clicked.
We can then check the front end of the website to see the translation before correcting the other translations:
The above process should be used to translate the rest of the strings.
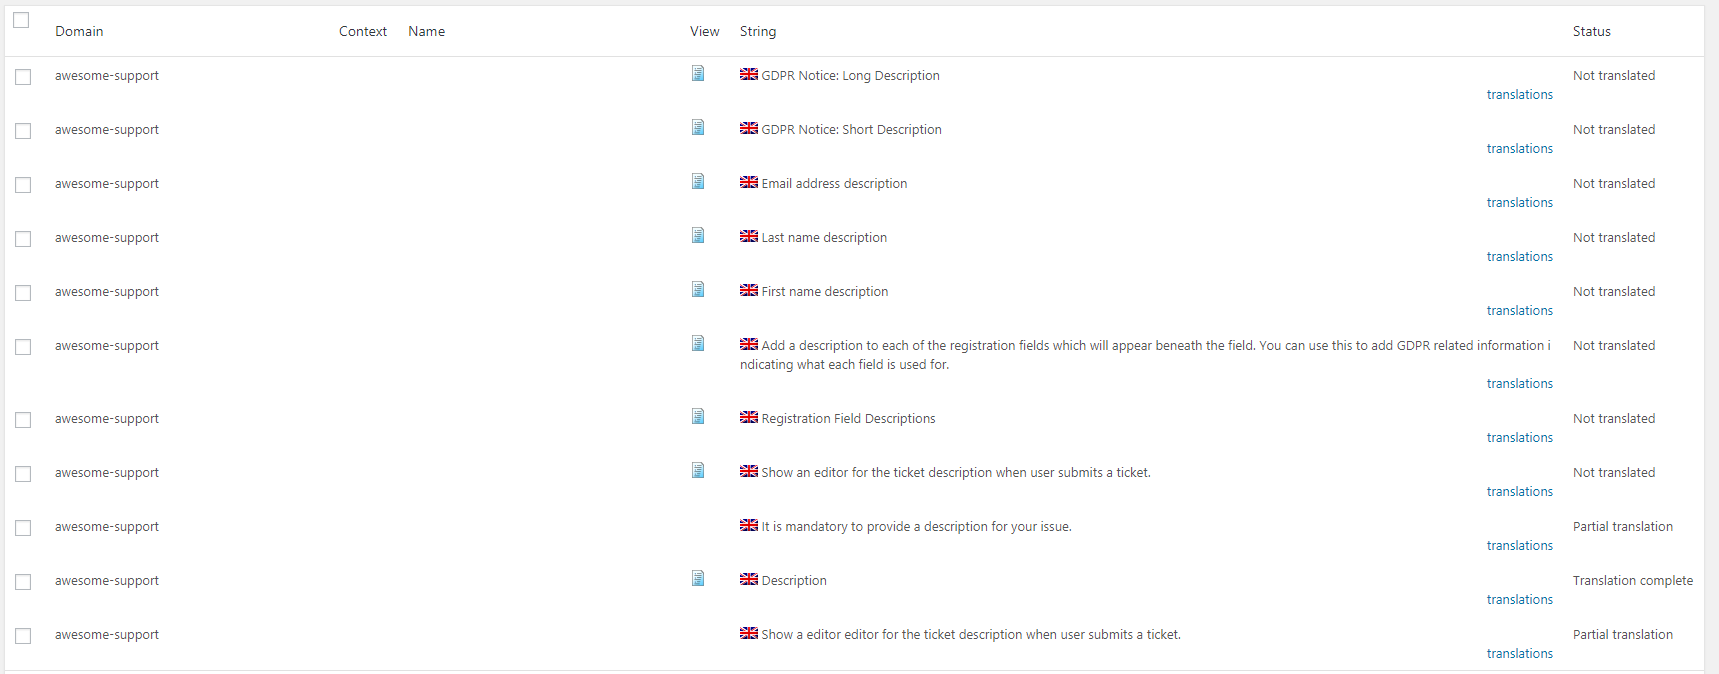
In some cases you may get more results displayed while searching. For example, if we search for “description” we will get many results:
This includes all strings with the text “description” in them. As we want the single word we can click on the “Exact match” filter and search again:
Now only one string is returned which is the one that we want to translate.
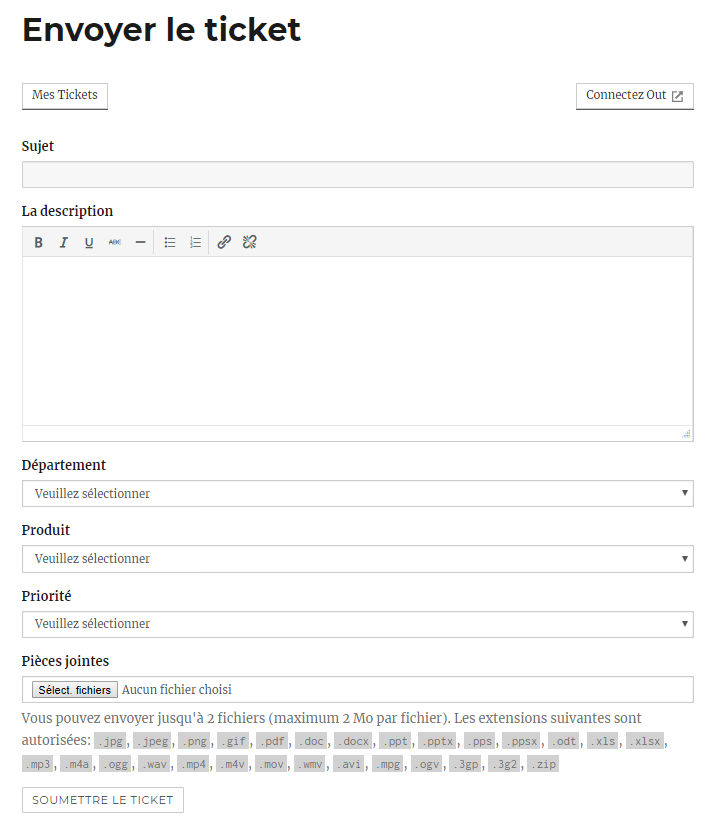
After all strings have been translated we can check the front end in the French language to check that everything has been changed:
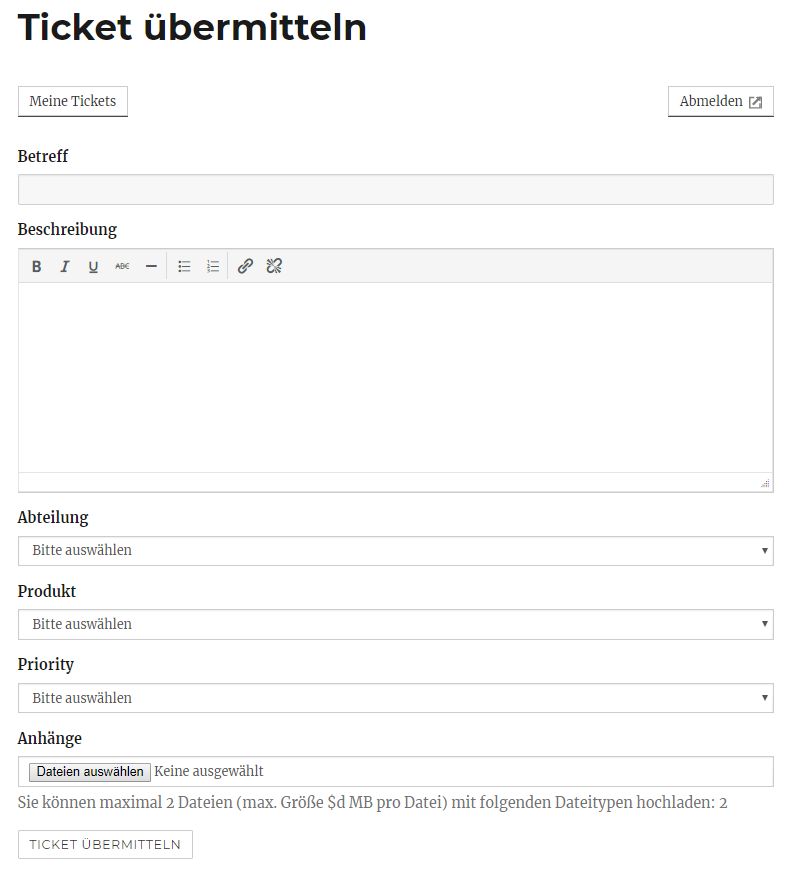
We will then repeat the process to check the strings that need to be translated in other languages. In this example we will change to the German language version. We should check first the front end to see which strings need to be translated:
Here we can see that only one string needs to be translated: “Priority”. Like before we use “WPML’s String Translation” to search and translate the string, then check the front end again to check that the string has been translated:
Now that the pages have been translated the form is ready to have tickets submitted. For the upcoming sections a French language version ticket will be created with dummy content. The same principles in future sections will apply for any other language versions.
Replying to a ticket as an agent
To allow for an example of full content on the “My Tickets” and “Single Ticket” pages we will simulate a reply from an agent.
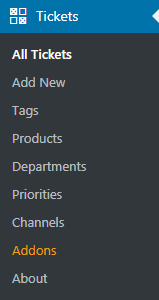
To do this from the administration panel the agent should go to the “All Tickets” page:
In this example we are in the administration panel’s English language version which has only one French ticket so the “All Tickets” page will be empty:
To find the French language version ticket we will need to change the language to French:
After this has been selected we will be able to see the ticket created by the user:
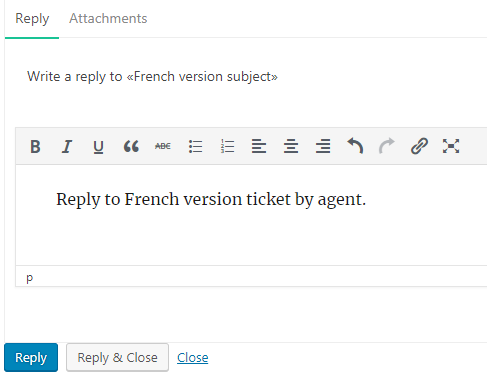
The agent will open the ticket and can enter a reply using the normal process:
Now that we have content in a ticket from both a user and agent we can proceed to check the translation on the other pages.
Translating the “My Tickets” page with no tickets
This page has two scenarios: the user has no tickets created or the user does have tickets created, so we will need to check for both circumstances.
Looking at the page with no tickets in the French language version we can see the following content:
Here the text “My Tickets” is a page title so we will not need to use WPML’s String Translation but will change the French version’s page title.
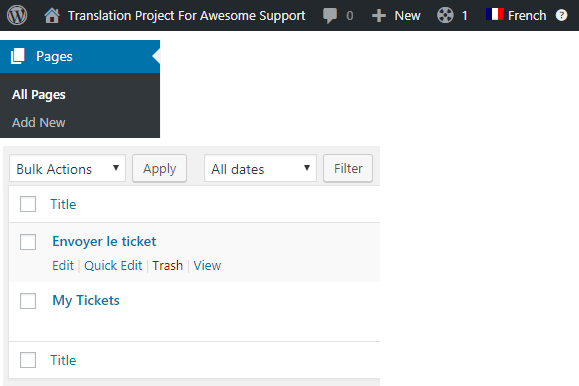
In the admin panel we need to access the “Pages” section in the language that we want, which in this example is French:
Once we are on the “My Tickets” page’s edit screen we need to change the title and update the page:
Now we can check the front end to see that the translation has been successful:
Translating the “My Tickets” page with tickets
Like previous pages we should check the front end first to see if there are any missing translations:
In this example using the French language version there is one missing translation: Date.
As this text is not a title we will use “WPML’s String Translation” to translate the string:
Once the string has been translated, we should check the front end to make sure that the string has been translated:
Like other pages this process should be repeated for other language versions.
Translating the Single Ticket page
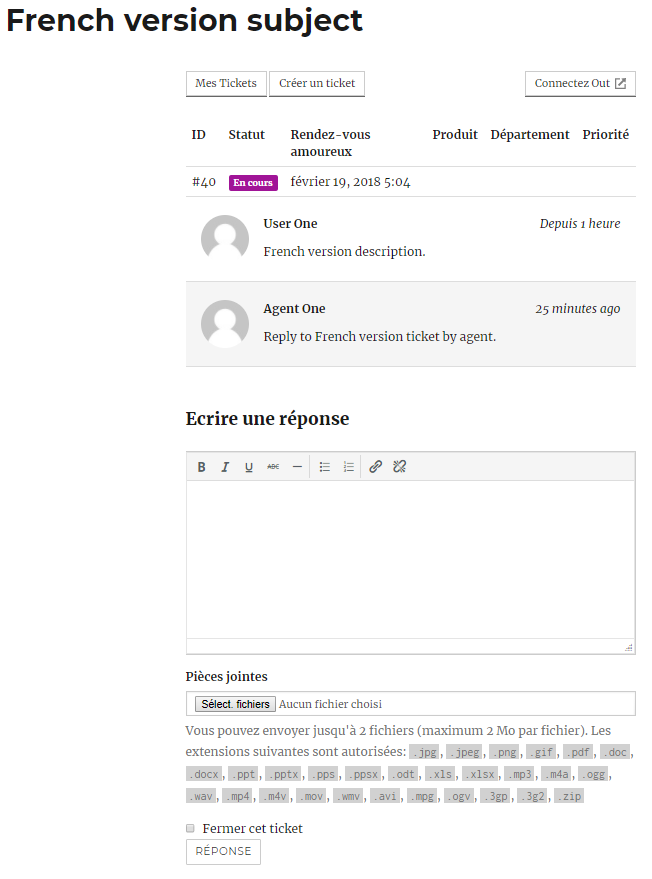
In this example we will be using our previously created ticket in the French language version. Like the other pages we first should check the front end for missing translations:
Here we can see one untranslated string “minutes ago”. “ID” could also be seen as an untranslated string so we could also use “WPML’s String Translation” for this case if needed.
To change the “minutes ago” string we will use “WPML’s String Translation”. This string is slightly more complicated to translate than the other strings.
First, we should access the “String translation” page in the administration panel. Strings on WordPress such as mins ago, minutes ago etc. are handled through specific WordPress code functions, so we can’t directly search for the exact string “minutes ago”. The “minutes” text is automatically generated by the WordPress function so we can’t search for it. Instead, we will search for “ago” without using the “Exact match” option:
There will be multiple results returned for this string example:
The characters “%s” is used to generate the “minutes” text so we can assume that “%s ago” is the string that we are looking for. Based on the results, however, there are two strings which use “%s ago”. We can look at the “Context” column for more descriptive information about the string. One of the “%s” context mentions “Time ago (eg. 5 minutes ago)” so we can assume that this is the string that we are wanting to translate. Like other strings we should click on the “translations” link and change the string in the language that we want:
Finally we should check the front end of the website to check that the string has been successfully translated:
More Topics In Awesome Support Core: WPML
- WPML: Introduction
- WPML: Quick Installation Guide
- WPML: Set Up Awesome Support For WPML
- WPML: Set Languages For Awesome Support Pages
- WPML: Set Up The Language Switchers
- WPML: Setting Localization Options
- WPML: Find All Strings For Awesome Support
- WPML: Translating Awesome Support Taxonomies
- WPML: Translate Administration Panel Items

