Creating/Adding Custom Statuses
Adding Custom Statuses
Once the extension has been installed there will be a new Status and Labels menu option under your TICKETS menu in the WordPress Admin sidebar. To get started, click on it.
(Note: In versions prior to 1.0.4. the menu option was simply titled Custom Status)
The initial screen will be blank. To add a new custom status, just click on the New Status button at the top of the screen.

You will see a screen with a single field in the main area.
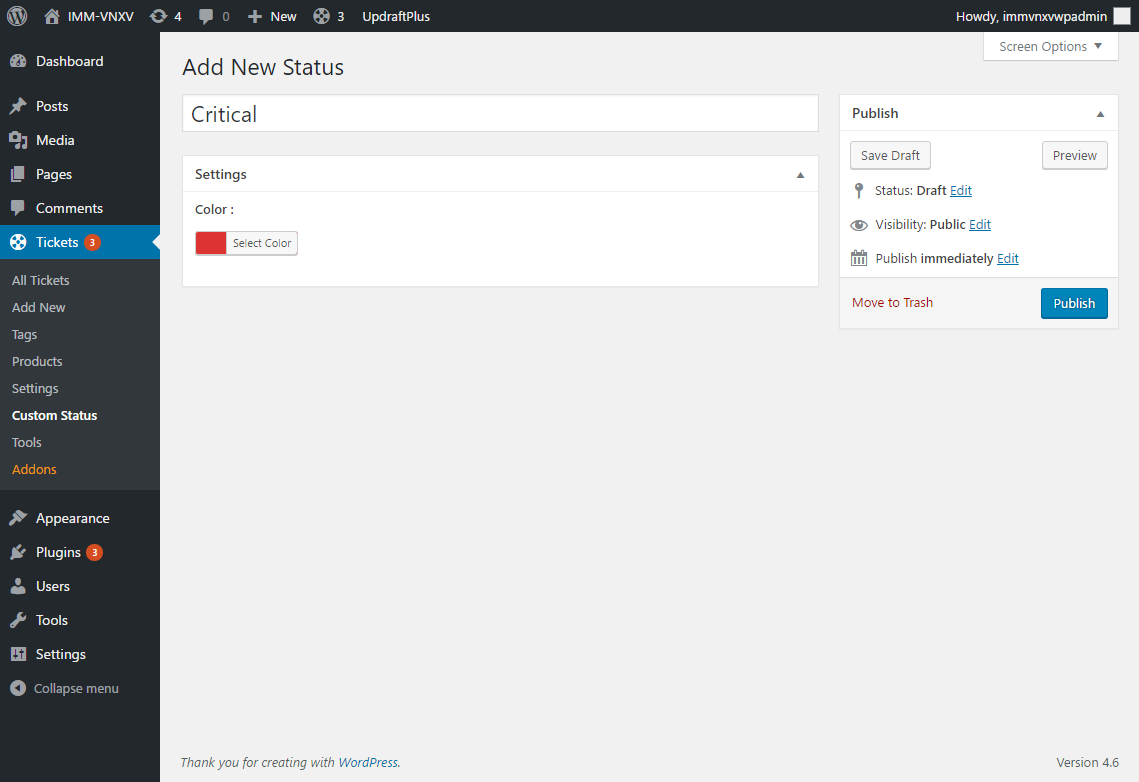
- Enter the label for your custom status (Eg: “Critical” or “Level 3”).
- Then choose a color.
- Finally, click the Publish button on the right hand side of the screen.
Repeat until you have added all the custom statuses you need.
Note: Depending on which WordPress plugins are installed, there might be additional “metaboxes” and custom fields from other plugins in the main area. Refer to those plugins documentation on what to do with those pieces of data. Generally, you will do nothing.