Polylang: Translating Awesome Support Taxonomies
Translating Awesome Support’s taxonomies
Now that each Awesome Support page has been created in each language version using Polylang, the pages should appear in their respective language. The strings translated will be from the language MO/PO files which are contained in the Awesome Support plugin. The final thing that needs to be done for a minimal configuration between Polylang and Awesome Support is to translate Awesome Support‘s taxonomies. The taxonomies we will be covering are: Departments, Products and Priority.
First, we should create sample data for each of these taxonomies. The following Awesome Support documentation pages outline how to do this:
In this example we have created three priorities in our default English version:
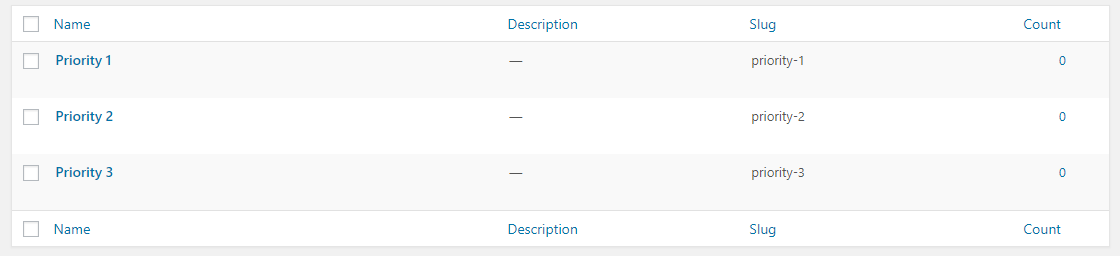
Viewing all priorities
We have two products:

View all products
We also have two departments:

View all departments
Now that we have created our initial taxonomy data we need to translate them in each language that we require. To do this we need to go to the edit screen of each individual taxonomy. If the taxonomies were created before Polylang was set up you will need to go into each taxonomy entry and update them. This is because if the taxonomies were created before Polylang was set up it would not have linked that taxonomy to any particular language. Re-saving the taxonomy in the default language will enable us to create the other language versions. Once you have done this when viewing all taxonomies the “+” symbols for each language will appear:
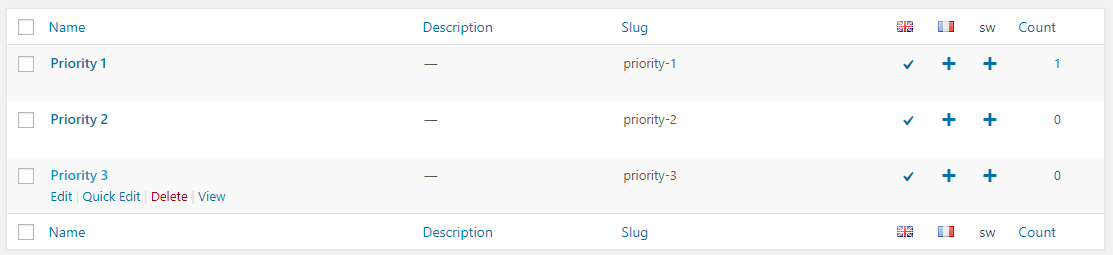
Re-saving the taxonomies will set the default language
We will start with the “Priority 1” taxonomy. At the bottom of the edit screen you will see a “Translations” section. You will need to click the “+” icon on the language that you want to translate. This will load a new page where the “Language” section will show the language that you have selected. The “Translations” field value should also match the title of the default language. So, for example, the “Priority 1” taxonomy will look like this after the “+” icon has been clicked:

The “Priority 1” taxonomy when beginning to be translated in French
You will need to enter values for the other fields for that taxonomy to match the original. Once you have filled in all the data you will need to save your changes. You will need to repeat the above steps for each of the “Departments” and “Products“.
Once each taxonomy has been translated we should check the front end to make sure that the translated versions are displayed. We will go through the process of creating and checking a ticket on the front end to make sure the translations are correct. First we will go to the “Submit Ticket” page in our chosen language (this example being French) and check each taxonomy field:
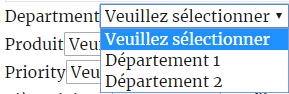
The translated department taxonomies on the French “Submit Ticket” page
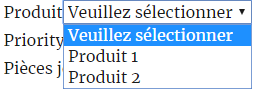
Translated product taxonomies on the French “Submit Ticket” page
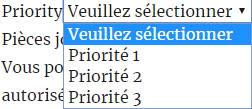
Translated “Priority” taxonomy on the French “Submit Ticket” page
Now that we can see the translations are correct for the French “Submit Ticket” page we can submit the ticket so we can view the other pages. We will now check the “My Tickets” page and check the taxonomies:

Checking the taxonomy values on the French “My Tickets” page
Here we can see the section where we submitted our test ticket. The “Product“, “Department” and “Priority” values are correctly showing the French versions. Finally we can check the Single Ticket page to make sure that the taxonomy values are translated:

Checking the taxonomies on the Single Ticket page in French
We can see that on this page the translated taxonomy values are successfully displaying.