Agents: Changing Public/Private Status
Agents can perform the following actions on a Ticket:
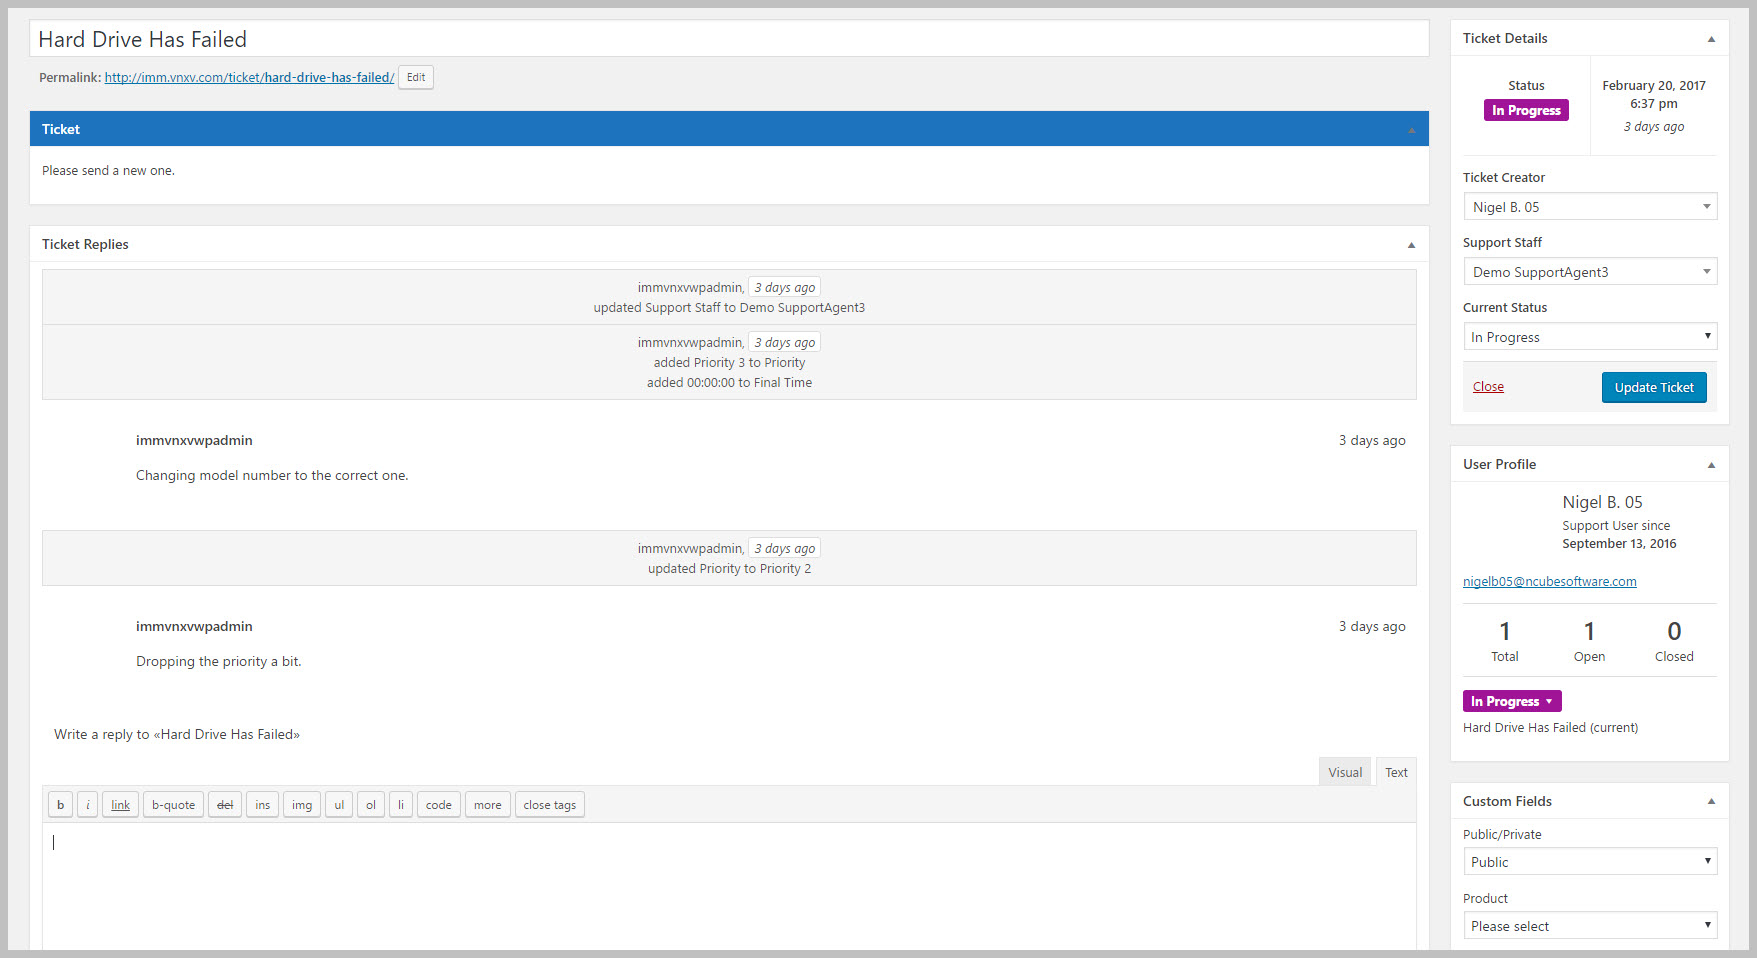
1. Change the PUBLIC / PRIVATE status of an entire ticket directly in their ticket screen.
- Open the ticket
- Find the Custom Fields metabox on the right hand side of the screen
- Change the dropdown in the Public/Private field
- Scroll back up and click the SAVE button.
2. Send A PRIVATE Reply
- Open the ticket
- Scroll down to the reply area
- Enter your reply
- There should be a single checkbox that says Mark As Private just below the Attachments box. Click on it to turn the checkbox on.
- Click the REPLY button.

3. Change an Individual Reply From Public to Private or Private to Public
If there are replies already in the ticket you can change the public or private status of the reply.
- Hover over the reply you need to change
- A series of links will show up in the upper right of the reply.
- Click the Mark As Private link (which will show up if the reply is public) or the Mark As Public link (which will show up if the reply is private)
- Scroll back up and click the SAVE button.
Search