Adding Your First Custom Field
When you first install the add-on, there are no default custom fields added. To add your first custom field to go to TICKETS->Custom Fields. You will see a blank screen that look similar to the following:
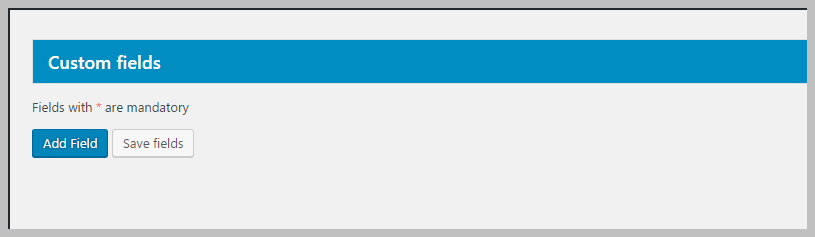
Simply click the Add Field button to add your first field. Clicking the button will display a screen similar to the following:
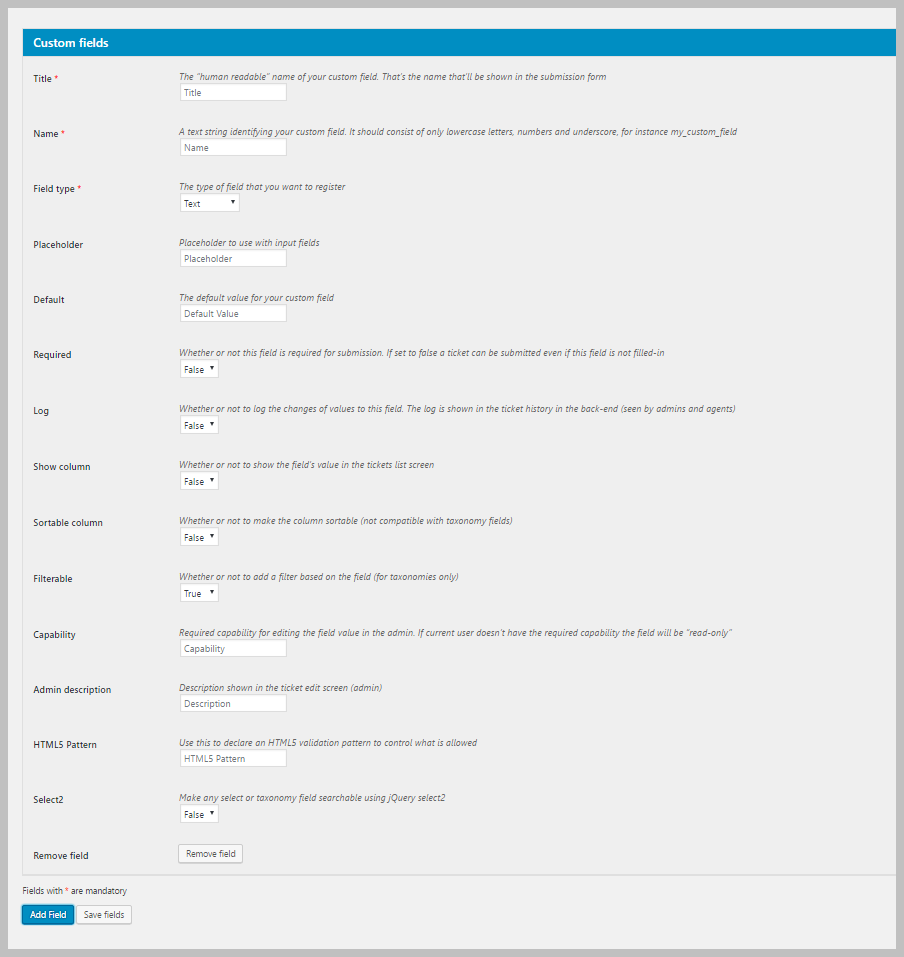
Only the first three fields are mandatory:
- Title: This is the text that your user will see on the ticket
- Name: This is the internal name used by WordPress. Generally this is all lower-case. It should have no spaces and no special characters other than the underscore.
- Field Type: The type of field you want – text, numeric, etc.
Click the Add Field button at the bottom to add another field. Or, click the Save Fields button to save the fields. Once saved, the fields will automatically show up on the in the ticket form.
More Topics In Custom Fields
Search