
6 Ways To Assign Agents To Your Tickets
As with most things in Awesome Support, there are multiple ways to achieve the same result. So when it comes to assigning agents to a ticket, you probably wouldn't be surprised to learn that there are many ways to do that as well. In this article we will take a look at some of your options.
1. Automatic Assignment With A Variant on the Round Robin Algorithm
When you install Awesome Support, you automatically get a "round robin" algorithm that controls how agents are assigned to new tickets. This algorithm will assign the agent with the least number of open tickets. If agents have an equal number of open tickets then the algorithm will alternate between the agents.
You do not have to do anything special to activate this algorithm - it is automatically activated when the plugin is installed.
2. Manually Assign Agents To A Ticket
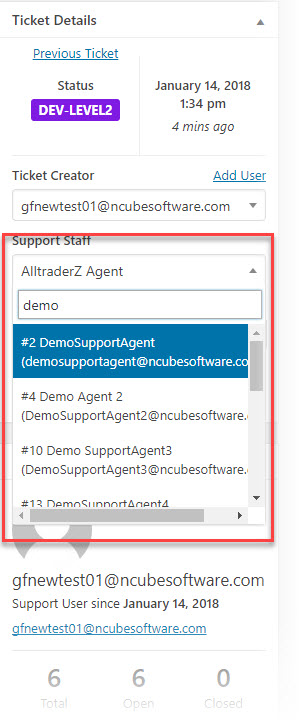
Any agent with access to a ticket can assign another agent to the ticket. For smaller support operations, this might be exactly what you need - a single admin is responsible for manually assigning tickets to agents. Use the SUPPORT STAFF search drop-down box in the TICKET DETAILS metabox to change the agent:
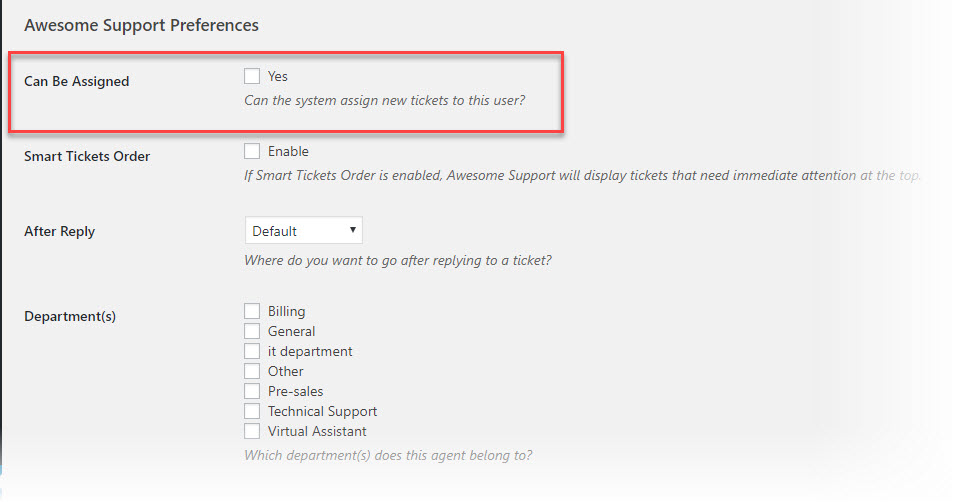
To prevent automatic assignment to your agents, all agents should have their CAN BE ASSIGNED flag in their user profile turned off. This prevents the default algorithms from automatically kicking in for your agents (assigning them to tickets). Instead, only the admin or master agent responsible for manual assignment should have this flag turned on.
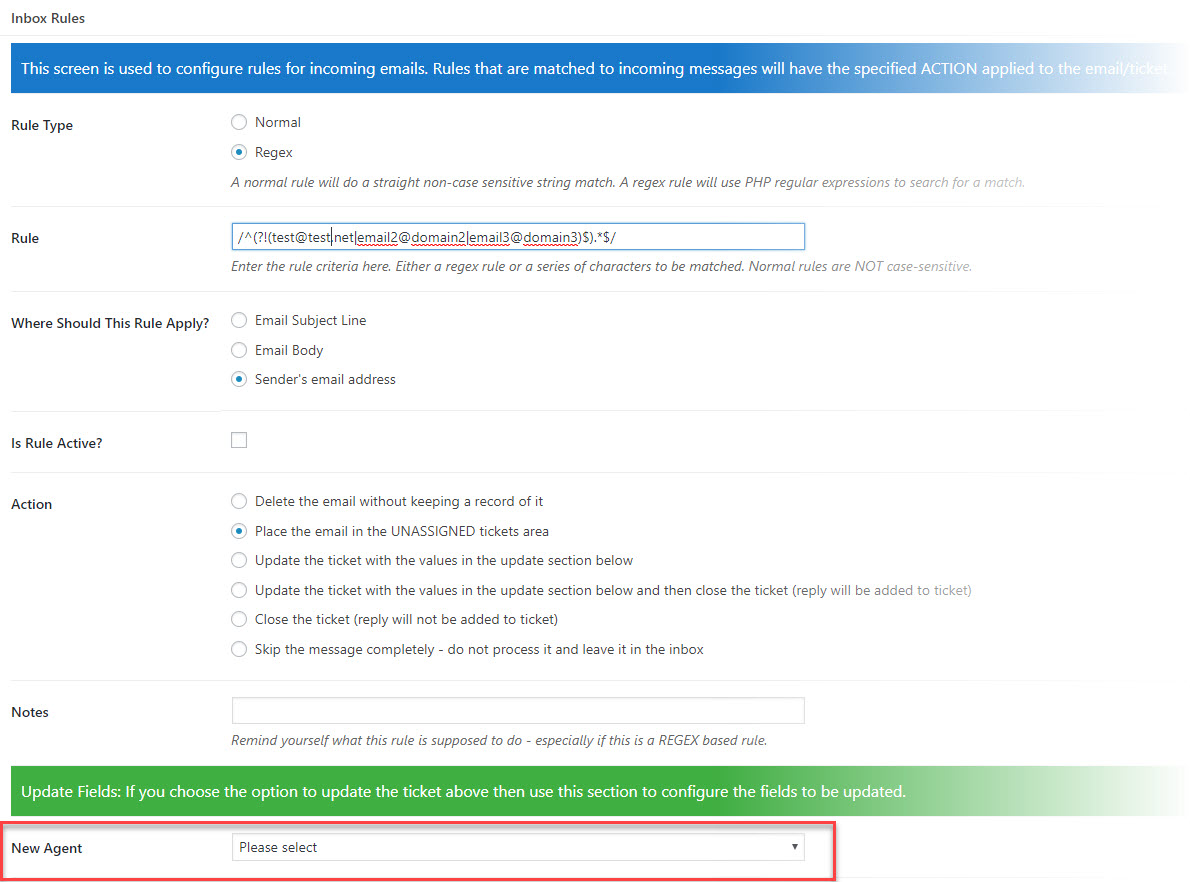
3. Assign Agents With Email Rules
Our EMAIL SUPPORT extension allow you to import emails - to create tickets or replies to tickets. When creating tickets you can specify that a particular agent be assigned to the ticket based on the contents of the ticket. For example you can search the incoming message for the email address of a VIP customer and assign your best agent. Or search for keywords related to a particular topic and automatically assign the agent most familiar with that topic.
4. Assign Agents With The Rules Engine
With the Awesome Support Rules Engine, you can get very granular in how you assign agents to new tickets. More than 10 conditions that can be combined in AND/OR configurations give you the power to be very very specific in which agent will be assigned a ticket.
Unlike the EMAIL SUPPORT extension, these rules apply to all tickets, regardless of how they enter the system. So tickets arriving from the website, email, gravity forms or manually entered by an agent will all end up running through these rules.
For some customers, this is the ideal scenario while, for others, the source of the ticket can dictate how the agent should be assigned.

5. Assign Agents With The Smart Agent Extension
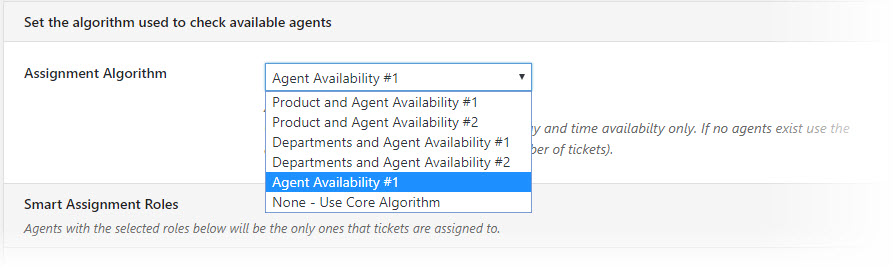
Assigning agents using e-mail rules or the rules engine has one significant limitation - you're forced to assign to a SINGLE agent, not a group of agents. However, the SMART AGENT ASSIGNMENT add-on allow you to narrow your choice of agents down to a group and then assign the tickets in a round-robin manner to the agents in that group.
The add-on provides 5 algorithms that you can choose from - algorithms that take into account products, department and the time of day that an agent is working.
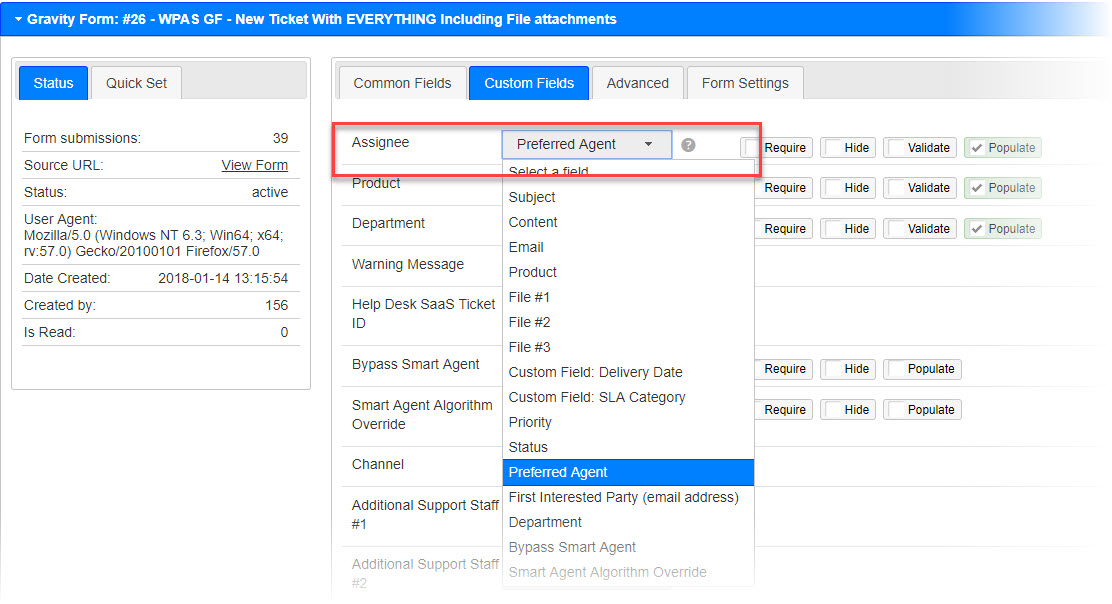
6. Assign Agents With A Custom Gravity Form Ticket
You can design a ticket with Gravity Forms and map that data into Awesome Support with the Awesome Support Gravity Forms Bridge. The Gravity Forms Builder plugin includes lots of options for embedding logic - options you can use to determine which agent to send a ticket to. Or you can simply have your user pick their favorite agent. Regardless of how you do it, you can map the selected agent to the agent field in Awesome Support.
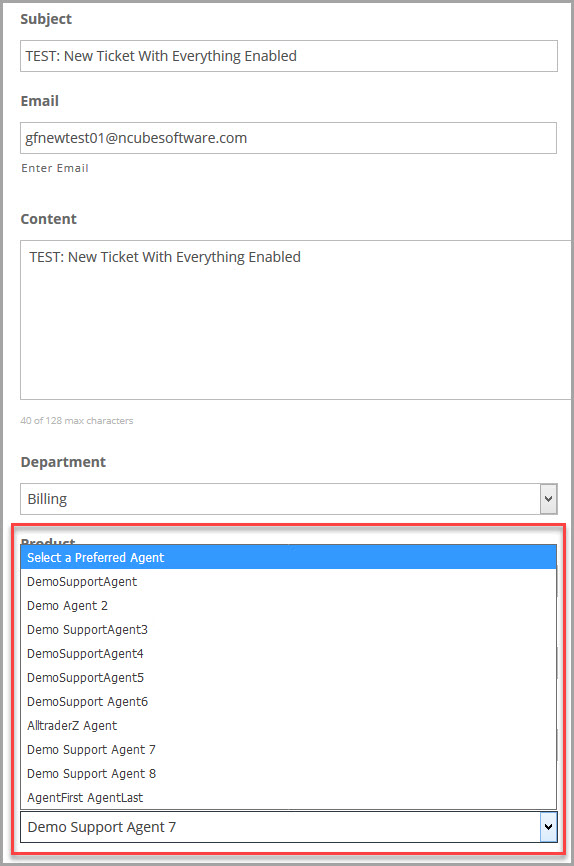
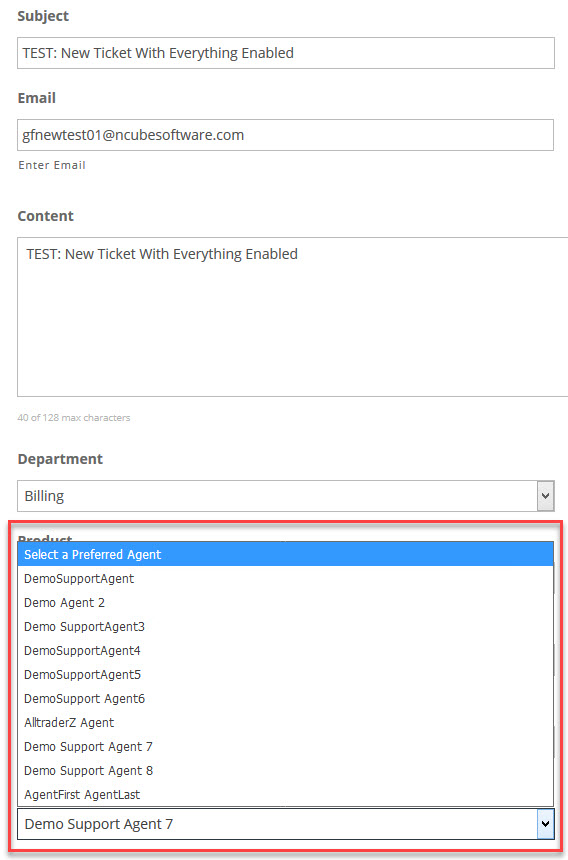
Here is a Gravity Form screen-shot that show a front-end ticket where the user is allowed to pick their own agent.
7. BONUS: Combining Your Options
For some sophisticated operations you can intelligently combine the options above. In particular we have designed some internal mechanisms to the Smart Agent extension, Custom Fields and Gravity Forms to allow you to enable or disable some of the methods at will - even controlling which algorithms will run for each individual ticket. You can read more about that here: Overriding The Agent Assignment Algorithm
THREE EASY WAYS TO GET STARTED WITH AWESOME SUPPORT TODAY!
Purchase A Bundle
Download Free Plugin
Install From WordPress.org