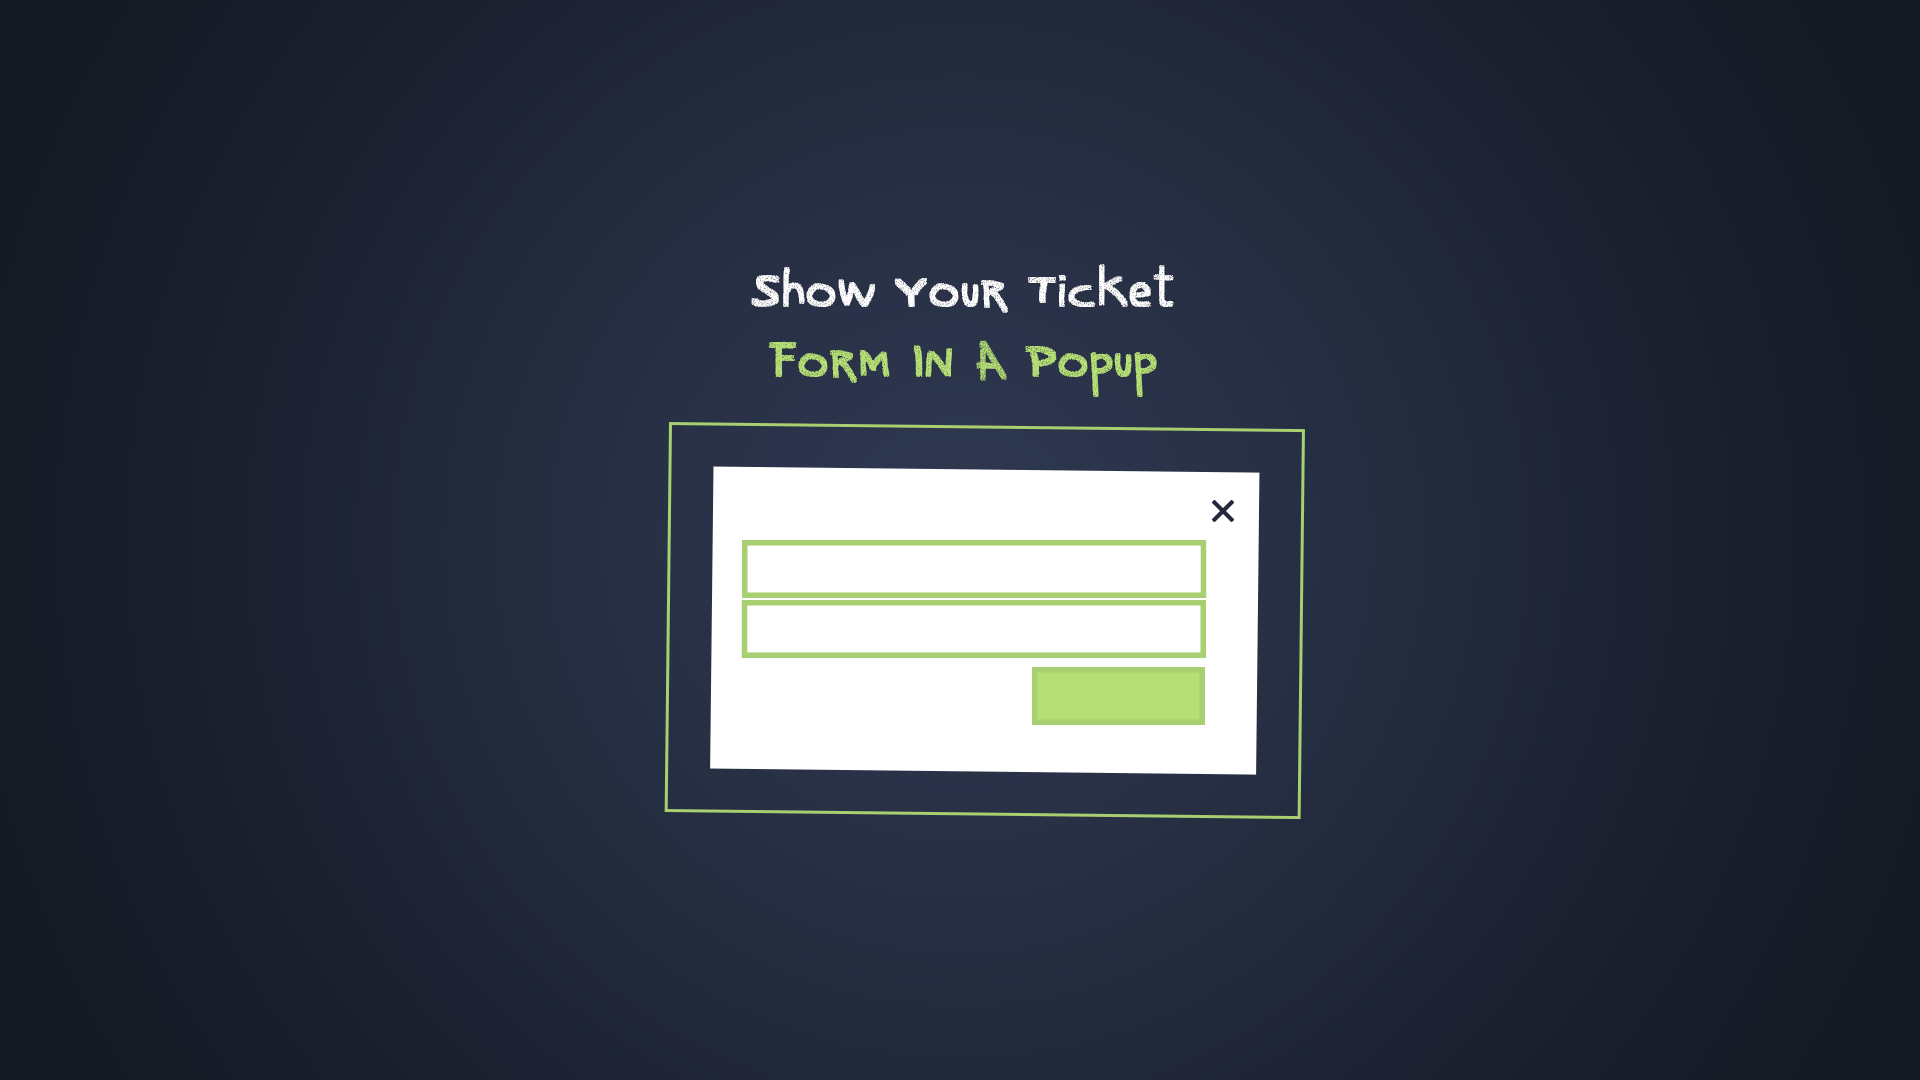
Show Your Ticket Form In A Popup
Sometimes it would be nice to see your ticket in a popup - for example:
This can be done a couple of ways:
- By creating a Gravity Forms form combined with our Email Support Addon and using it's short code in any compatible popup maker. We demonstrated how to use Gravity Forms to create a ticket in this article: Setup A Contact Form That Creates A Ticket.
- Or we can use the standard submit-ticket short-code inside of a compatible popup maker.
Either method requires that you know a little something about CSS classes and selectors.
For this article we're going to walk you through the process using method 2.
Setup The Basic Popup
- First, download, install and activate Popup Maker - its a free plugin available from the wordpress.org site. We like this pop-up maker because the authors have gone out of their way to make everything as standard WordPress as possible. This makes it a highly compatible pop-up maker that works on most well-behaved themes.
- Create a new popup by going to POPUP MAKER->Add Popup
- Enter a title for the popup in the first field
- In the main editor, switch from the VISUAL editor to the plain TEXT editor (tabs on the upper right side of the editor). We need to do this because we're going to add some styling code to make the popup look better than the default.
- Add in the following CSS code: Caution: there should be NO BLANK LINES between the lines of code. This is a quirk of the popup maker. Blank lines will result in paragraph tags being automatically inserted which will ruin the CSS code.
<style>
 #pum_popup_title_1644{
 margin-bottom: 30px !important;
 }
 .wpas-ticket-buttons-top {
 font-size:24px !important;
 margin:20px !important;
 }
 .wpas-ticket-buttons-top a.wpas-link-ticketlist,
 .wpas-ticket-buttons-top a.wpas-link-ticketnew,
 .wpas-ticket-buttons-top a.wpas-link-logout {
 margin: 15px !important;
 padding: 10px !important;
 border: solid !important;
 border-width: 1px !important;
 border-color: blue !important;
 }
 label {
 color: #B4886B !important;
 font-weight: bold !important;
 display: block !important;
 width: 150px !important;
 float: left !important;
 }
 label:after { content: ": " !important; }
 #wpas_product_wrapper, #wpas_department_wrapper, #wpas_message_wrapper, #wpas_files_wrapper{
 margin-top:20px !important;
 }
 </style>
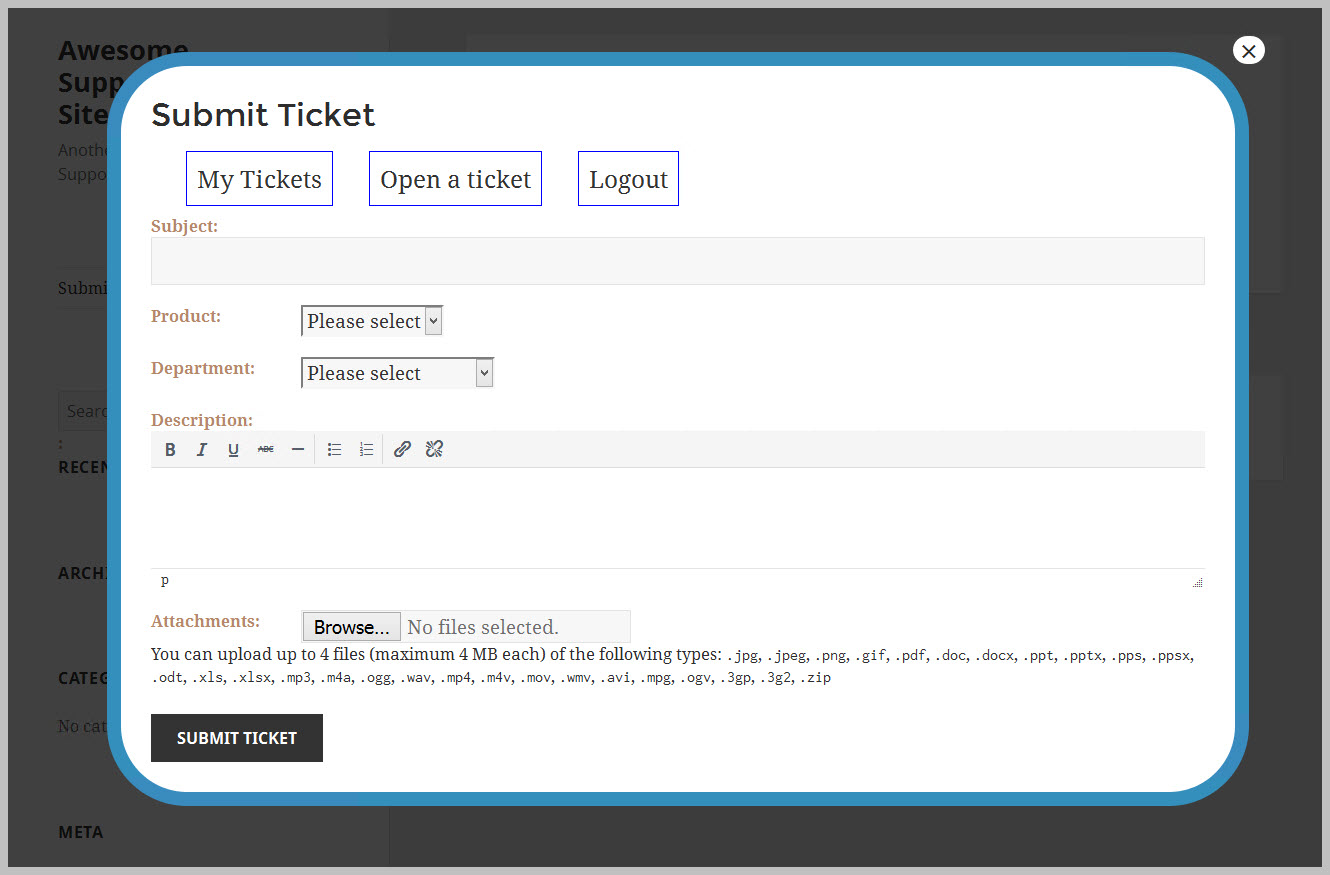
At the very bottom, add in the submit-ticket shortcode (don't forget the square brackets). So, everything in the editor looks like this:

The most important thing in there is the submit-ticket shortcode. The rest of the lines are all related to making the popup look pretty (basically just CSS code).
Don't forget to click the SAVE or UPDATE button on the right side of the pop-up configuration screen.
Set up the Trigger For The Popup
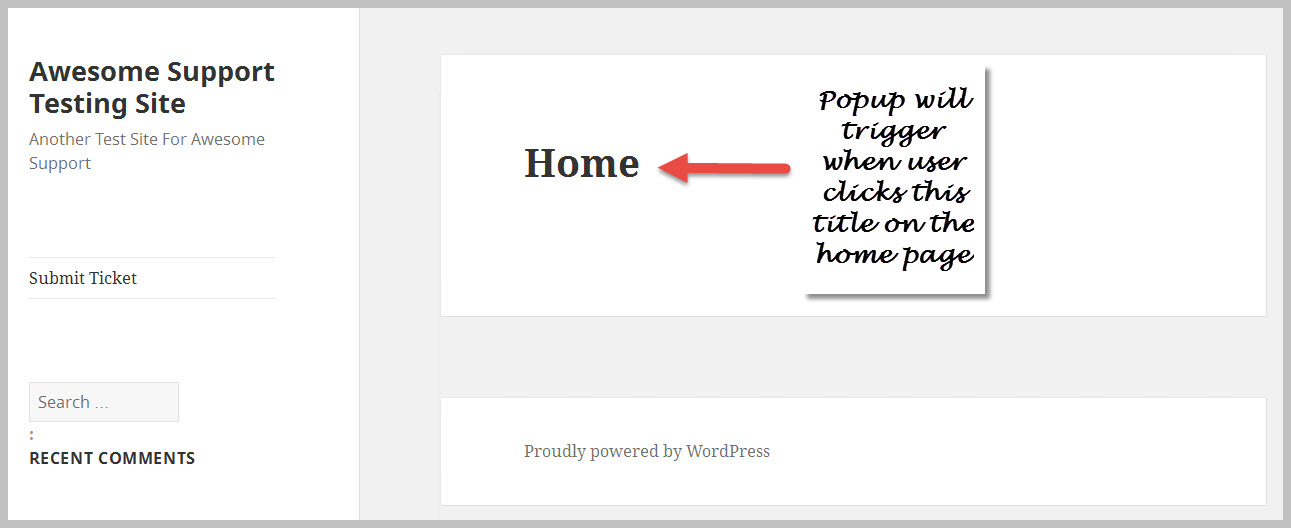
Now that the basic pop-up is configured, we need to figure out a way to get the user to trigger it. For this exercise, we'll do something a bit different just to illustrate the power of this idea. We're using the 2015 WordPress Theme and will set things up so that the pop-up will trigger when the user clicks on the TITLE of the home page.
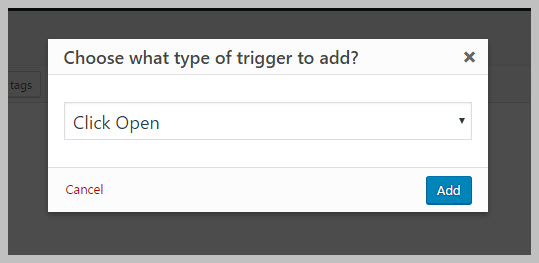
To set up the title as the trigger, find the ADD NEW TRIGGER button in the pop-up form. It is generally located just under the large edit field where you typed in all the code in the prior section. Click on that button, make sure that the resulting dialog box says "Click Open" and then click the ADD button. You should see a new dialog box where the first field says "Extra CSS Selectors"
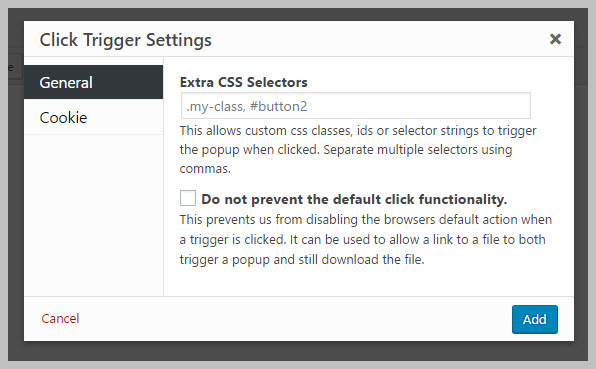
In the Extra Css Selectors field enter the following selector which corresponds to the 2015 Title label on the home page: .entry-title
Click the ADD button to add the pop-up trigger to the pop-up configuration form..
Then, look for the "Theme Settings" metabox on the right hand side and change the pop-up theme to "Hello Box". (This gives the pop-up a distinctive look.)
Finally, click the standard WordPress UPDATE button in the upper right side of the form to save the pop-up configuration.
Lets Test It
- Login into your site
- Go to the home page
- Click the Title label.
- You should see your popup.
Wrap Up
There is one major limitation to this technique - the user has to be logged in. If they're not logged in they will get the standard login screen in the pop-up itself and then be redirected to the standard ticket screen after logging in.
We hope you find some inspiration from this idea!
THREE EASY WAYS TO GET STARTED WITH AWESOME SUPPORT TODAY!
Purchase A Bundle
Download Free Plugin
Install From WordPress.org