
Tutorial: Create Tickets Using Data Pushed From Zapier
Introduction
Do you have data in other applications that needs to be pushed into Awesome Support in semi-real-time? If so, our Zapier integration just might be the perfect way to get it done without writing code. You will still need some technical skills to get it done. But if you're a power-user of some kind, chances are you have enough skills to get it done.
To get started you will need:
- A Zapier account (of course)
- Awesome Support 5.8 or later
- Our Business Rules Engine Add-on (Optional)
Connecting your data to Zapier and pushing it into Awesome Support will be a multi-step configuration process. You will first connect your data to Zapier and then you will connect Zapier to Awesome Support using Awesome Support's REST API and Zapier's WEBHOOKS app.
Activate and Configure The Awesome Support REST API
To activate the Awesome Support REST API you need to go to TICKETS->SETTINGS->REST API and turn it on.
Once it has been activated, a new section will be added to all user profiles to allow you to create API security keys. These keys will be used when calling the REST API functions from inside Zapier. This prevents user from having to disclose their standard system password. So the first thing you'll need to do for this tutorial is go to the Wordpress users menu and pick a user to edit.
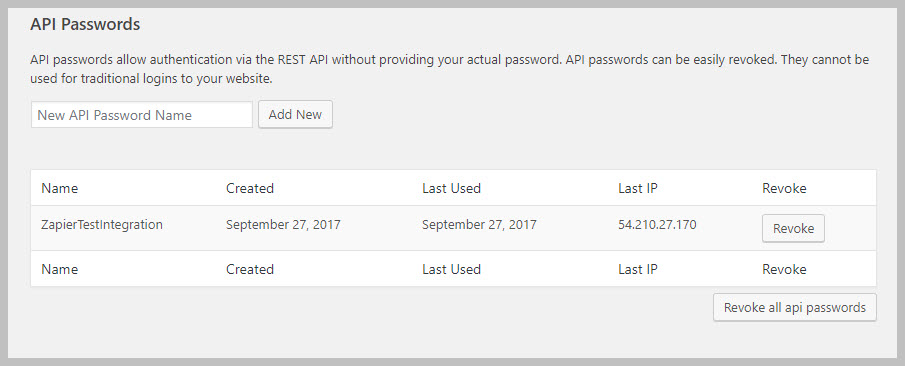
Scroll down to the section labeled API PASSWORDS. That section should be blank. Just type in a name in the NEW API PASSWORD NAME field and click the ADD NEW button. The name can be anything (eg: ZapierIntegration01).
After clicking the button you will be given a password string. Make sure you copy it some place safe because you will need it later. You will not be shown this string again. If you forget it you can always create a new one.
When done, that section should look similar to the following.
Configure a Data Source - Google Sheets
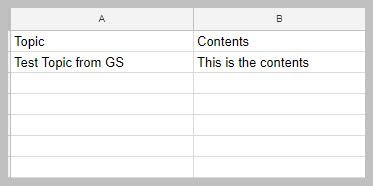
For this tutorial we'll be using a Google Spreadsheet to store the data we'll be pushing to Zapier and Awesome Support. Just create a new Google spreadsheet with two columns: TOPIC and CONTENTS. It should look something like this:
Configure Zapier
Configure Zapier's Trigger Step
Log into your Zapier account and create a new Zap. For the first step (called the TRIGGER STEP in Zapier terminology), choose Google Sheets as the APP (you might have to search for it in the App search bar).
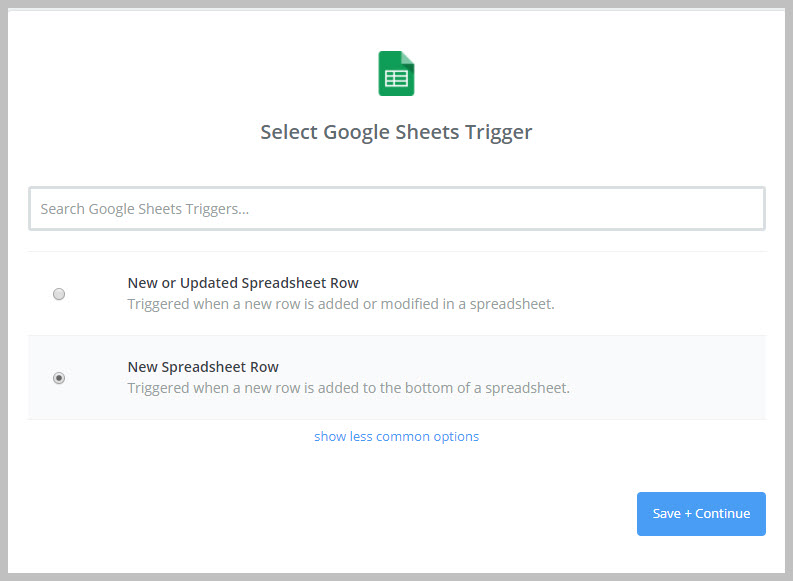
For the Trigger, choose New Spreadsheet Row then click the blue SAVE + CONTINUE button.
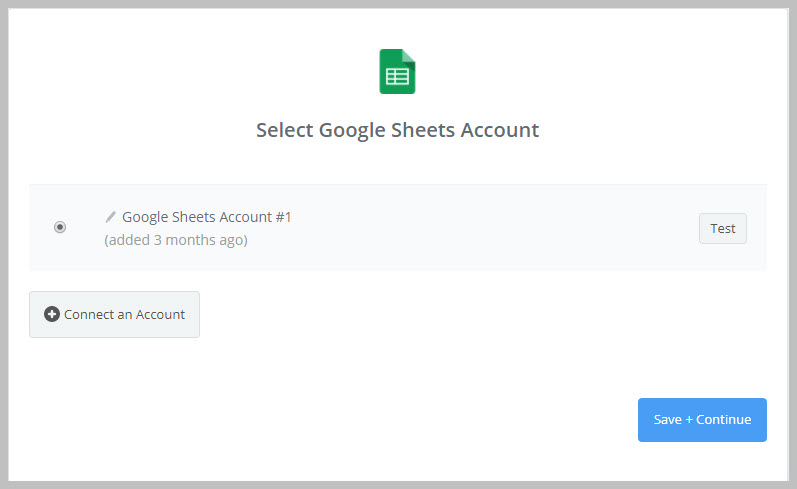
Connect to your Google Account if not connected and click the blue SAVE + CONTINUE button.
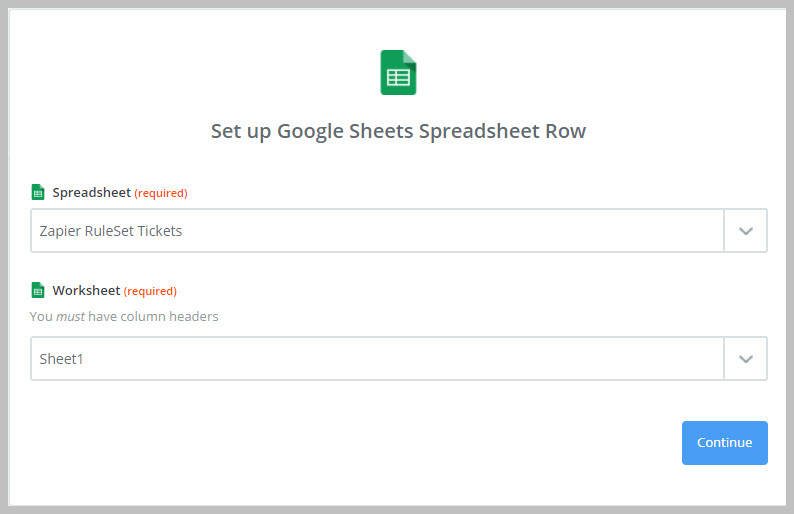
Zapier will then read your account to collect the list of existing spreadsheets. Select the one you set up with the sample ticket data. Then select the WORKSHEET since a Google spreadsheet can have more than one worksheet in it. Move to the next step by clicking the blue CONTINUE button.
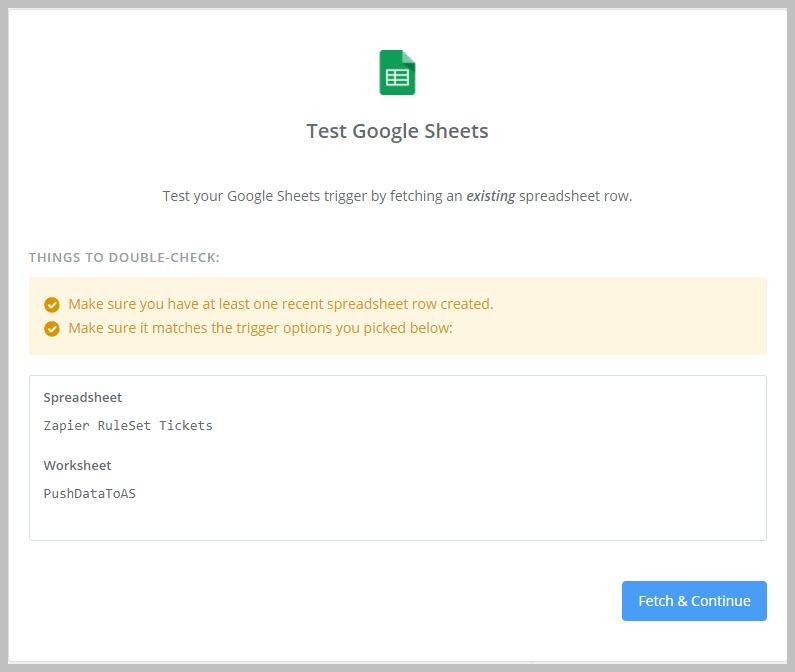
You will then be asked to test your sheet by fetching an existing row. Make sure your sheet has at least one row and then click the blue FETCH & CONTINUE button.
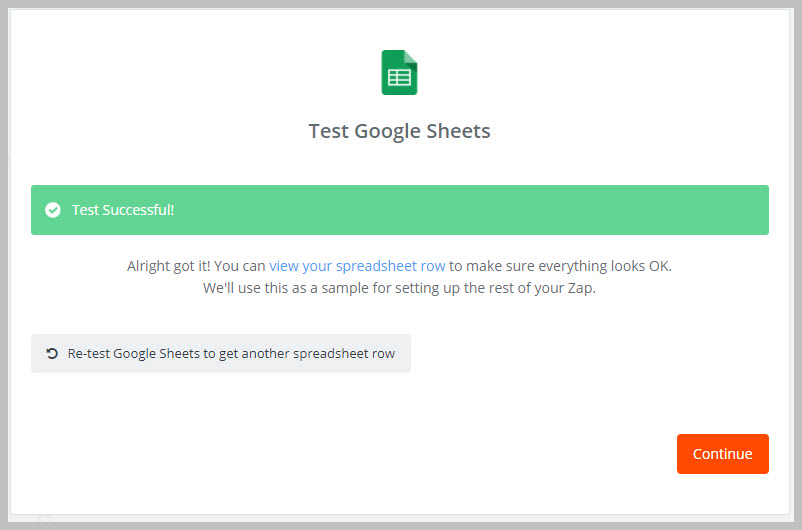
If Zapier's test is successful you will see a screen similar to the one shown below. If its not successful you will be given the opportunity to start over. If the test is successful you can press the orange CONTINUE button.
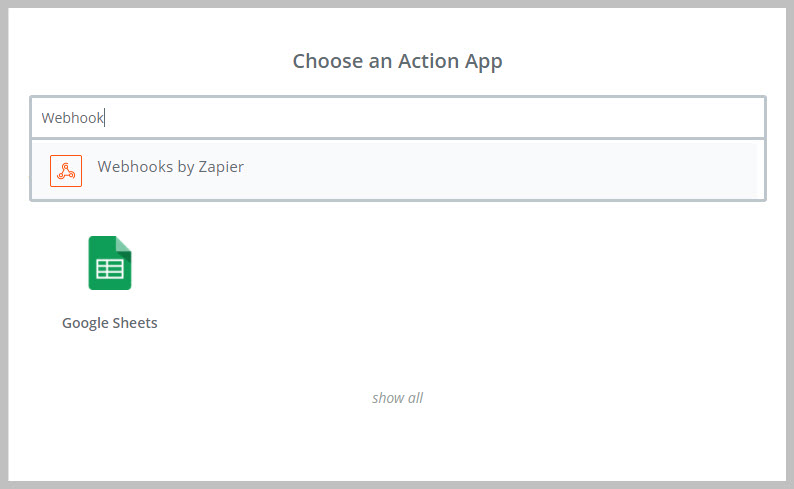
Configure Zapier's Action Step
At this point you will be asked to configure an Action step. This is the part where you connect to Awesome Support. To do this you will need to search for the WEBHOOK App.
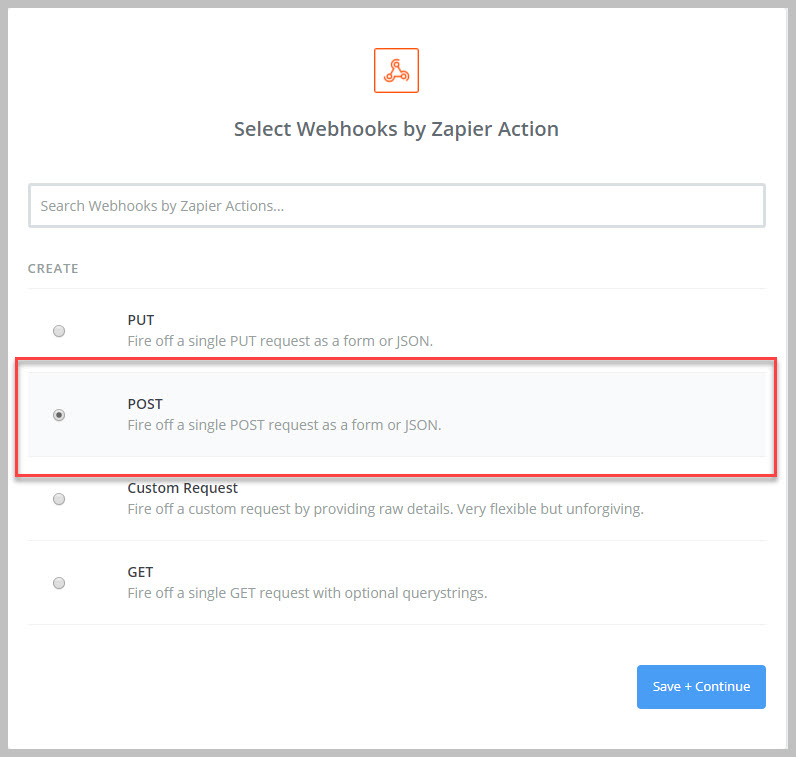
Once you have selected the WEBHOOK app you will be give a choice of four options. Choose the POST option and then click the blue SAVE + CONTINUE button.
Now, this is where things get a little "techy". The screen you will be presented with has a ton of fields on it so lets go through what data goes into each of them.
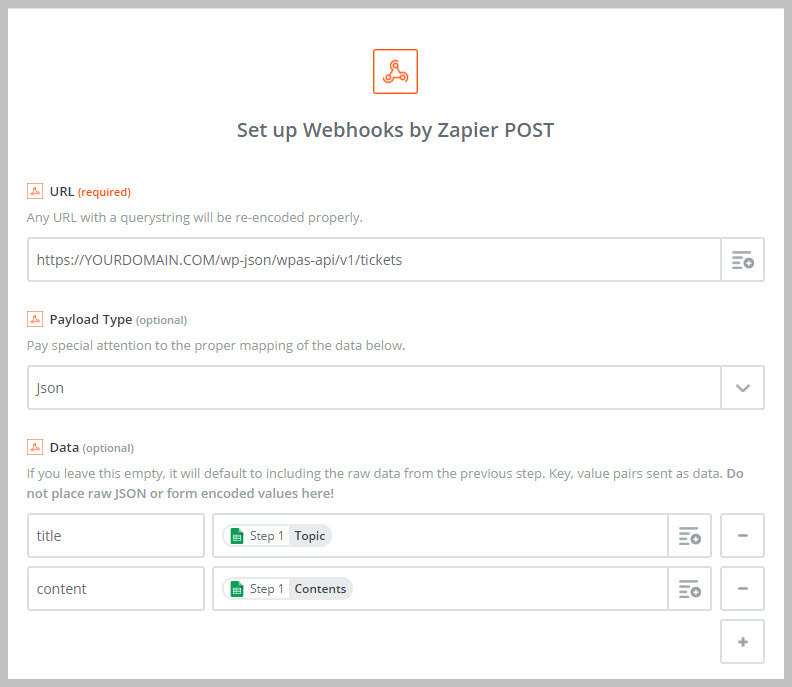
- URL: This is the URL of the rest API endpoint for adding a ticket. You will place this value in there: http://YOURDOMAIN.COM/wp-json/wpas-api/v1/tickets. Obviously you will replace YOURDOMAIN.COM with your actual domain name.
- Payload Type: Set this to JSON (the default is FORM but you need this to be JSON).
- Data: You can add muliple rows of data here, one corresponding to each column in your sheet. The first row will map to the ticket title and the second row will map to the ticket contents. If you need to map to additional items on the ticket you can find them all in the REST API endpoint documentation. So far things will look similar to the following:
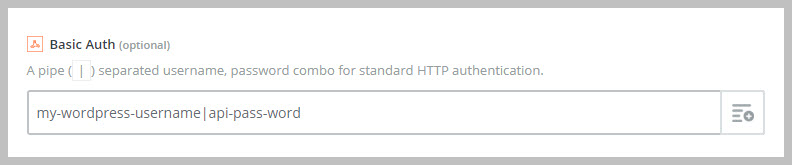
Basic Auth: This is where you will enter your user id and password. You need to separate them with a pipe. Your user id is the WordPress username and the password is the API KEY you created earlier in this tutorial. When you enter it into this field it will look something like this: username|password. Notice the pipe symbol in between them.
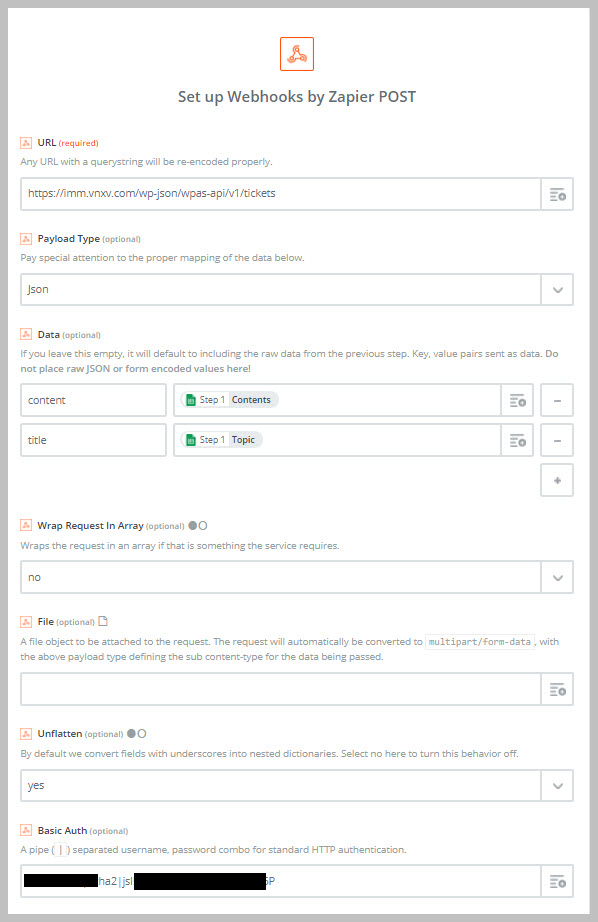
You can ignore the other fields on the screen - leave them with their defaults and press the blue CONTINUE button. Your full completed screen should look similar to the following:
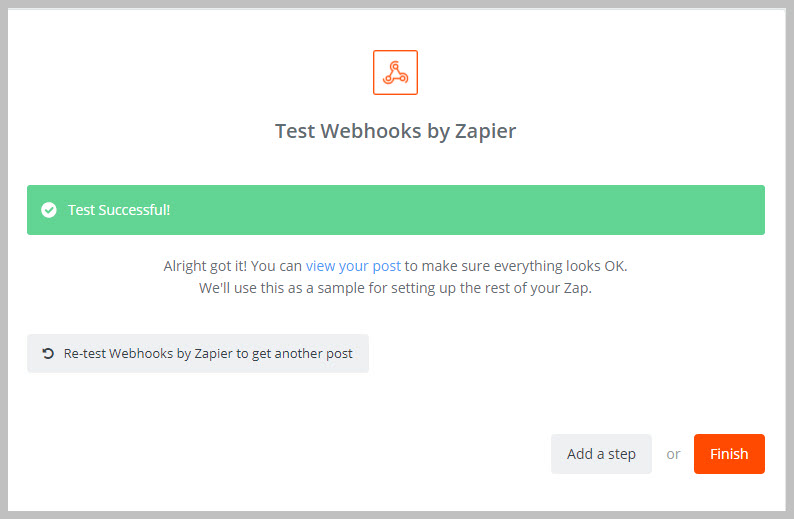
The next screen will be the test screen. Just click the CREATE & CONTINUE button. Zapier will run a test to create a new ticket and if successful you will see a success screen similar to the following. Click the orange FINISH button and then the radio button to turn on your zap.
Tip: Don't forget to name your Zap before clicking the finish button.
Test Your Zap
Just add a new row to your Google Sheet and it should show up as a new ticket you in Awesome Support!
Keep in mind that Zapier might take as much as 15-30 mins to query your sheet and collect new rows. If you have a paid account that delay might be as low as 5 mins.
Optional Steps
Do you need to automatically add replies to tickets or change priority and status based on keywords on the ticket? Then use the Business Rules Engine to create rule-sets that react to only those tickets from the REST API channel. The Business Rules Engine extension gives you powerful workflow and automated ticket handling capabilities that can be very useful when handling tickets that are received from a third party source.
Related Articles
The five most powerful add-ons for Awesome Support
THREE EASY WAYS TO GET STARTED WITH AWESOME SUPPORT TODAY!
Purchase A Bundle
Download Free Plugin
Install From WordPress.org