
Setting Up Mandrill with Awesome Support
Mandrill is transactional (one-to-one) e-mail infrastructure developed by MailChimp. It was released in 2012 by a group of engineers from the MailChimp team. It performs really well, it's easy to setup and it has a free plan that will suit most users (you can send up to 12,000 e-mails per month).
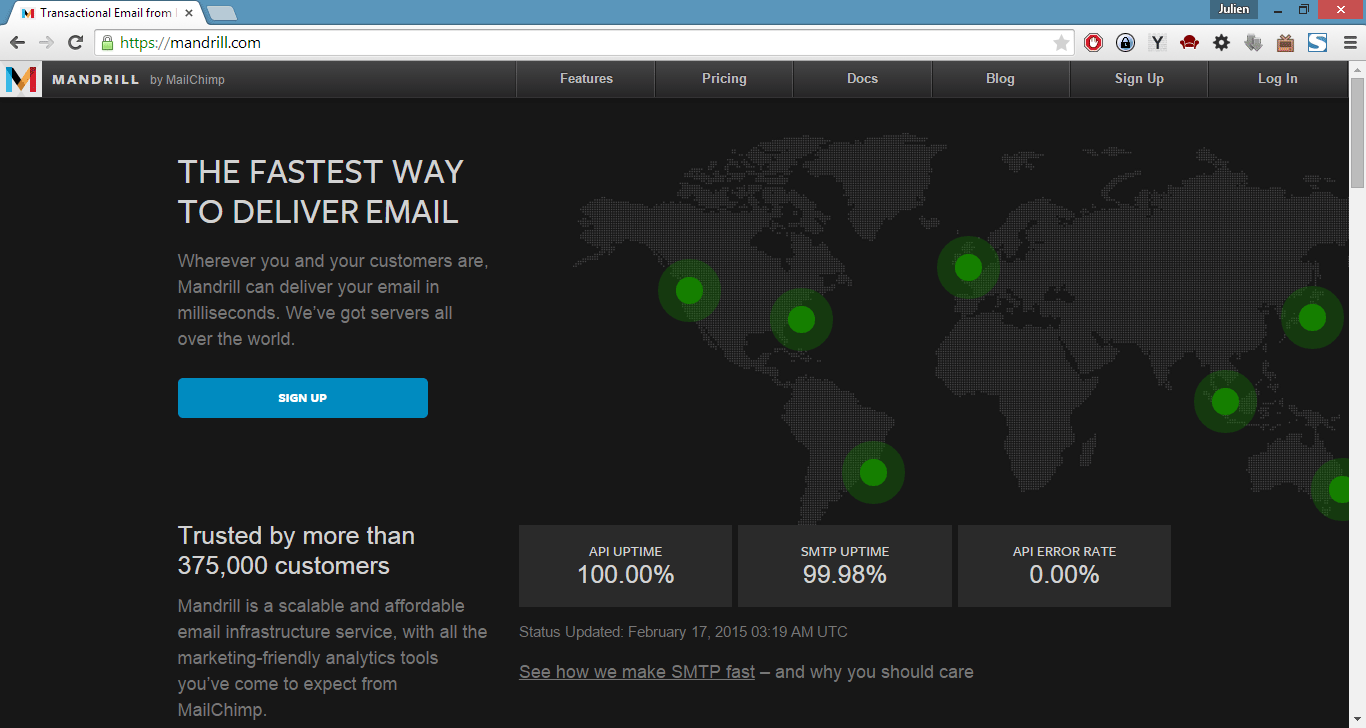
Mandrill
Some very famous companies such as SoundCloud, Trello and Envato are using Mandrill for routing their e-mails.
What is Transactional E-Mail?
Transactional e-mails, also called "one-to-one", are e-mails sent to individual users (unlike marketing e-mails that are sent to hundreds or thousands of recipients at once), typically from a web application.
Transactional e-mails are hugely important because, unlike many marketing e-mails, they contain important information that the recipient is expecting to get. In the case of Awesome Support, all e-mail notifications are transactional e-mails containing important information (like "a new reply has been added to your ticket").
Why Using Mandrill with Awesome Support?
Awesome Support being installed on your hosting server, e-mails are sent out using the PHP mail() function. For sending transactional e-mails, this can be considered a dangerous practice because chances that some of your e-mails won't reach their recipient are high.
Two main reasons can explain the low delivery rate with this method:
- Some hosting providers limit the number of e-mails that can be send with the mail() function,
- Web hosting servers are not optimized to send e-mails (from a technical point of view, sending clean e-mail is a complex operation)
Now, there are two reasons why you should be using Mandrill with Awesome Support. The first one is quite obvious: you want all the e-mail notifications to reach their recipients.
The second reason is related to the support. According to our terms and conditions we will not provide e-mail delivery related support if you are not using a transactional ESP.
Why you ask? Because when sending e-mails with PHP mail() Awesome Support can know if the e-mail was sent out, but from there we have absolutely no way of knowing what happens and if the e-mail reached its recipient. It would be like asking us why your car parked outside your house won't start...
If you're using Mandrill however, much more information is available. We can know if an e-mail was sent, if it reached its recipient, and if not, what went wrong (in most cases).
Setting-Up Mandrill
Let's get down to the nitty-gritty and setup Mandrill with Awesome Support.
Create Your Account
First things first: you need to create an account with Mandrill. Go to http://mandrill.com and click "Sign Up" in the top right hand corner. You just need to give them an e-mail address and a password to get going.
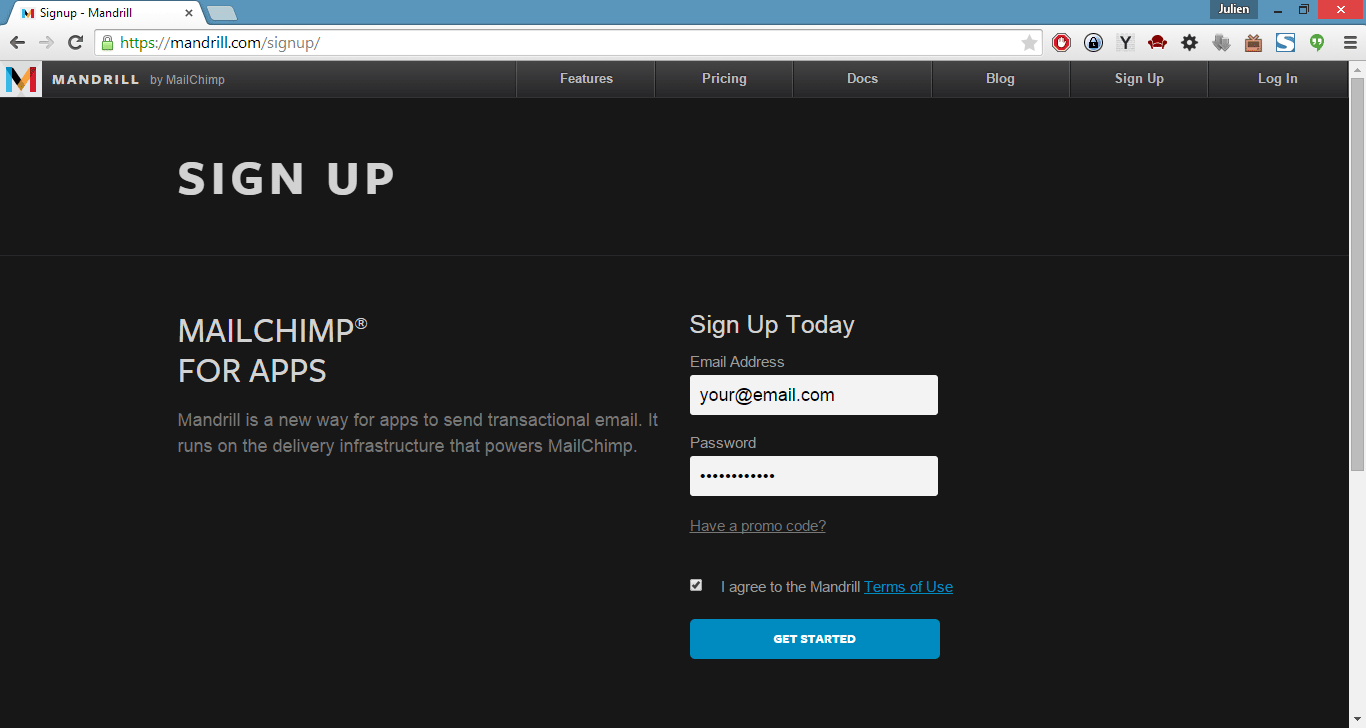
Mandrill Signup
Get You API Key
Once you have an account, log into Mandrill at https://mandrillapp.com and click the "Settings" button in the left hand side menu. The new page will give you the SMTP Credentials as well as your API keys.
Click the blue button "+ New API Key".

Create Mandrill API Key
After you clicked the button give your API key a description and leave all the checkboxes unchecked.
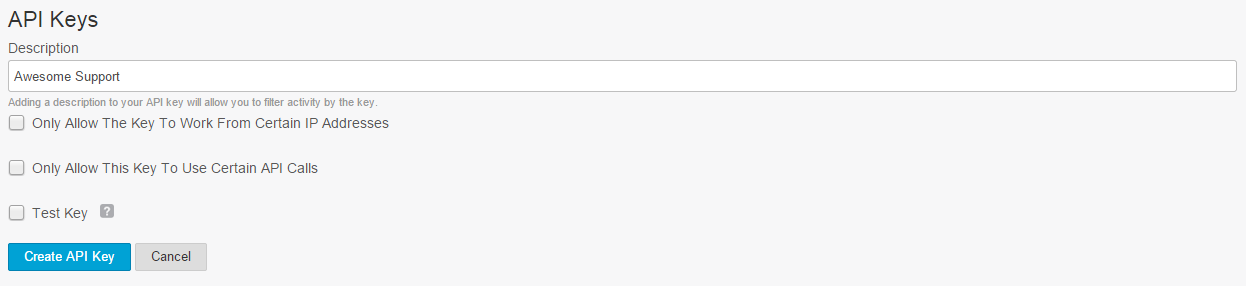
API Key Details
Obviously, click "Create API Key" to finish.
Install a WordPress Plugin
Next thing we want to do it tell WordPress to use Mandrill to send e-mails.
WordPress uses the function wp_mail() to send e-mails. This is basically a wrapper for the PHP function mail() we talked about earlier. We are going to install a plugin that replaces the standard wp_mail() function by one that uses Mandrill servers to send the e-mails.
From your WordPress dashboard, go to Plugins > Add New and search for "wpMandrill".
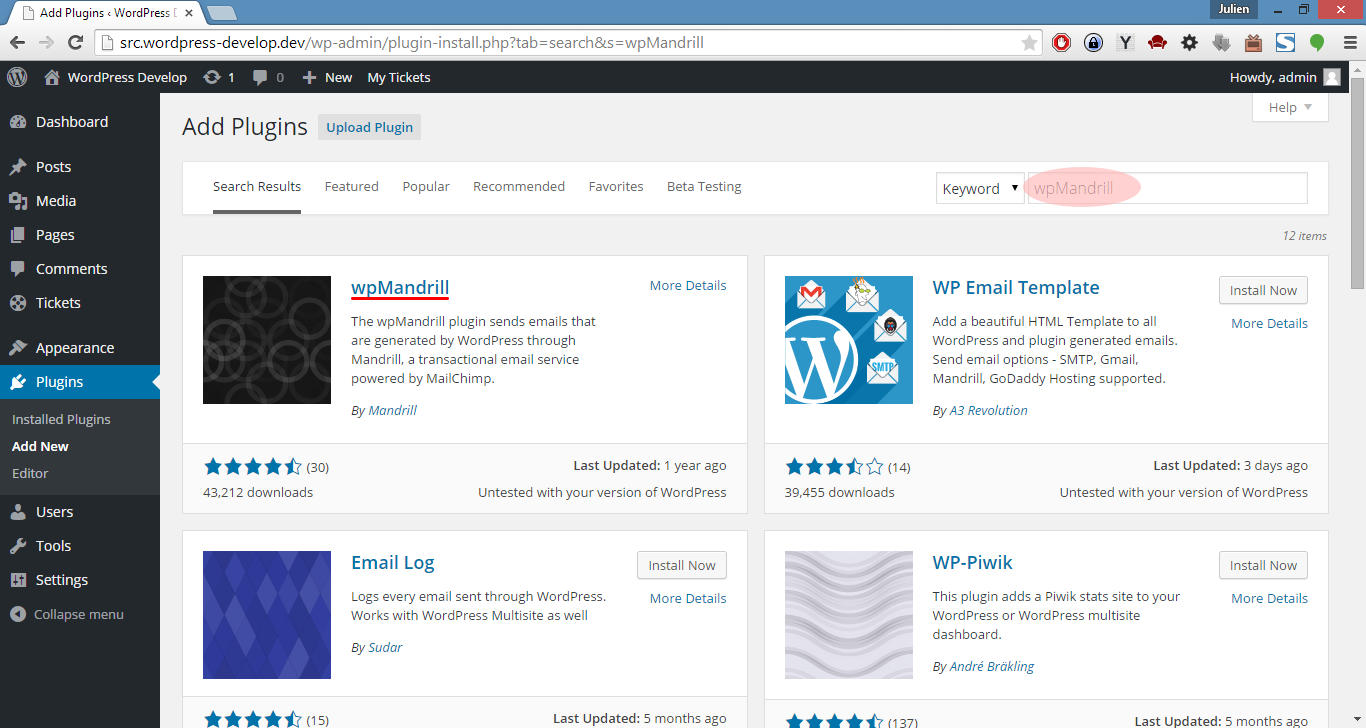
wpMandrill for WordPress
Install the plugin and activate it.
Configure the Plugin
There are very few things to configure in the plugin. First of all, after activating it, go to Settings > Mandrill.
The first thing you'll be asked is to provide your API key. Paste the key you have created in the "Get Your API Key" section. After you hit the save button the page will reload with more options.
Only 3 things are needed on the settings page:
- FROM Name
- FROM Email
- Reply-To Email
These 3 options are pretty self-explanatory. If you want the "from email" and "reply email" to be different you can specify 2 addresses, otherwise the reply-to address will be the same as the from email by default.

wpMandrill Settings Page
Send a Test E-Mail
Finally, you want to send a test e-mail to make sure everything works correctly. Go to the wpMandrill settings page (Settings > Mandrill), scroll down to the bottom of the page and fill-in the "Send a test email using these settings" form.
If everything is well configured you should get the test e-mail at the "Send to" e-mail address you specified. You will also see the outgoing e-mail in your Mandrill dashboard.
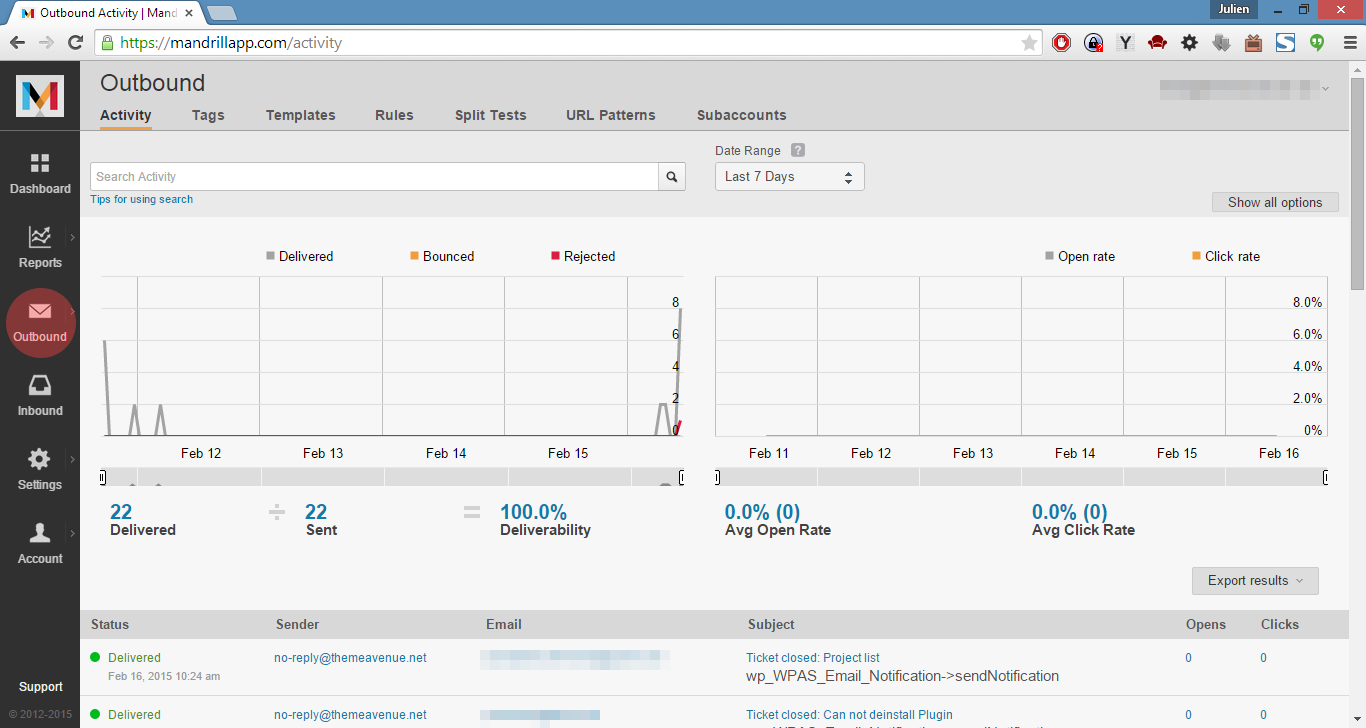
Mandrill Outbound Emails
THREE EASY WAYS TO GET STARTED WITH AWESOME SUPPORT TODAY!
Purchase A Bundle
Download Free Plugin
Install From WordPress.org