How To Create A Custom Ticket Registration Form With Gravity Forms
One of the common requests we get is to customize our login form. Unfortunately Awesome Support does not have that feature - primarily because there are at least a dozen login-form customizer plugins out there. We figured there was no need to build yet another plugin to offer the same functionality. Instead, here is the process you can use to build your own login form and integrate it seamlessly with Awesome Support.
For this example we are using Gravity Forms which is a premium plugin. Other plugins should work - as long as they allow you to automatically login the user after they are registered (not all of them do that!)
You do not need anything else other than core Awesome Support (free) and your premium version of Gravity Forms.
Prerequisites
- Gravity Forms
- Gravity Forms User Registration Add-on
- Awesome Support (Core - Free)
Create the Skeleton Form
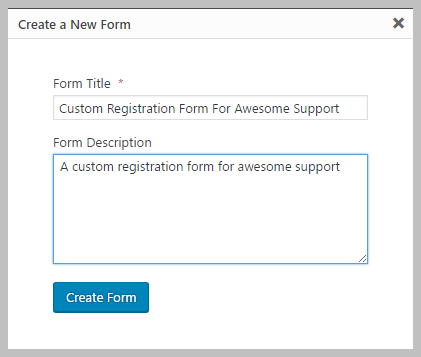
Go To FORMS->Add New
Fill in the Create New Form popup - Title and form description
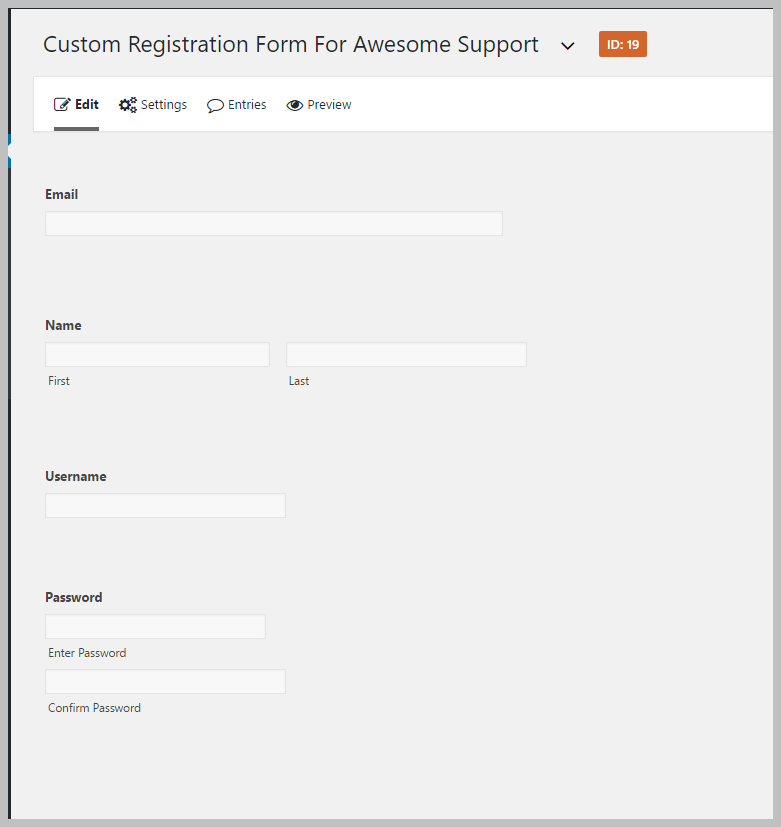
Add Gravity Forms Fields To The Form
Use the drag and drop interface to add fields to the form. Click the UPDATE FORM button when done.
Configure Registration Settings
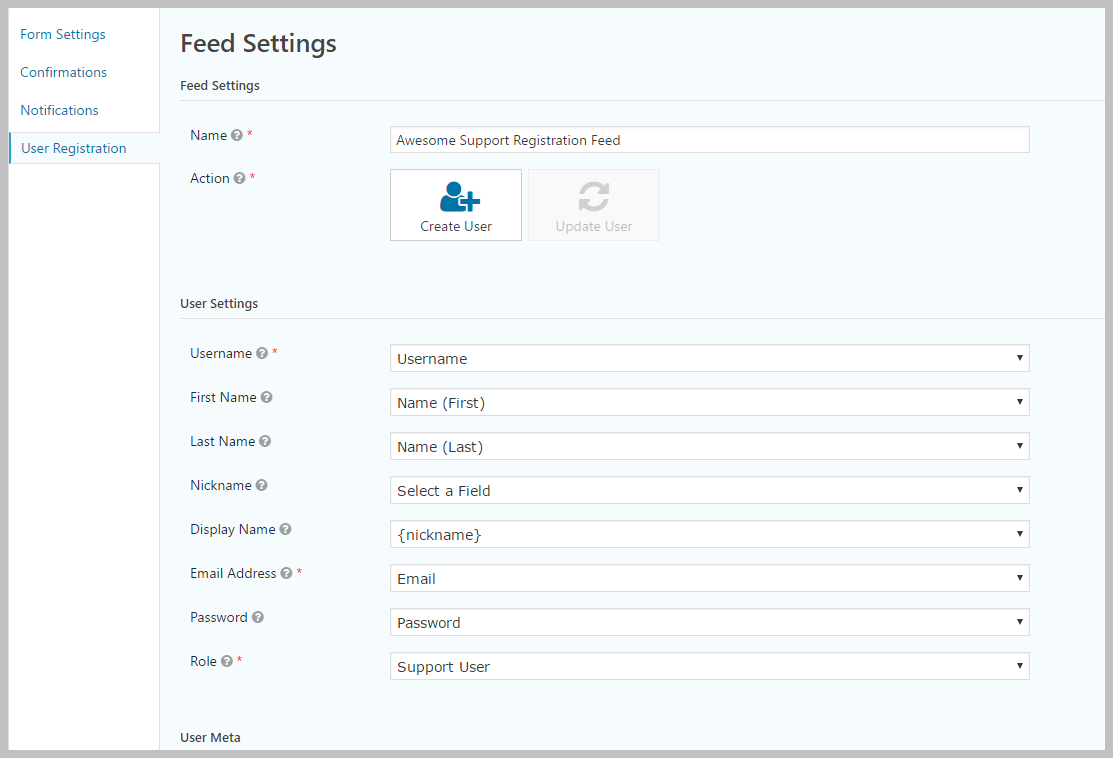
- Go to the SETTINGS link at the top of the form and select the User Registration option from its menu
- Click the Add New button to create a User Registration Feed.
- Give the feed a name - for this example we are using Awesome Support Registration Feed for the feed name.
- Click Create New User Button
- Fill in the MAPPING fields that show up - basically this is the step where you take the fields you've added to your form and mapping them to WordPress registration data fields. Pay special attention to the ROLE field - make sure that is set to Support User.
- Click the UPDATE SETTINGS button at the bottom of the screen.
Add the New User Registration Form To A WordPress Page
- Go to PAGES->Add New
- Give your page a title. For this example we are going to use Custom Registration For Awesome Support.
- Click the ADD FORM button
- Select your new custom registration form and click the Add New button.
- Click the PUBLISH button on the right side of the page.
Setup Awesome Support To Use The New Page
- Go To the TICKETS->SETTINGS->Advanced Tab
- Select your Custom Login page and then click the Save Changes button at the bottom of the page.
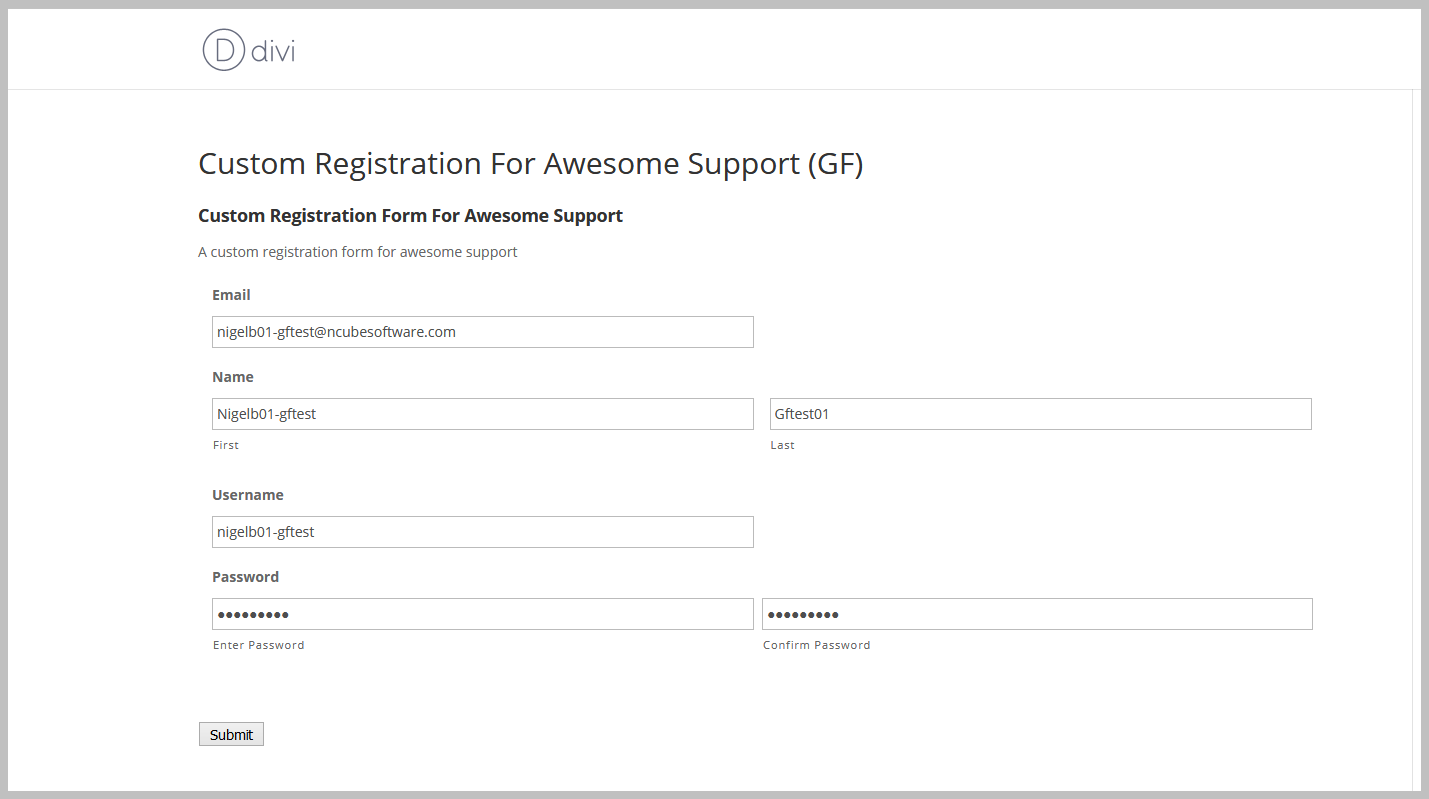
Test Your Page
Assuming that you have used the default ticket page, navigate to https://www.yourdomain.com/submit-ticket (use a private browser window or a different machine or a different browser so that you get the login page. If you use your current browser you are already logged in so you will not see the login page). It should look something like the one below - notice that we are using a non-WordPress theme for this example (Divi).
Fixing The Redirect
Ok, so you tested your form and you realize that, even though the user might be registered, the new ticket form does not automatically show up. Lets fix that.
- Go back to your Gravity form: navigate to FORMS->Forms and click on the title of your custom registration form.
- Under the SETTINGS menu at the top of the form select the Confirmation option.
- Click on the Default Confirmation link.
- Select the Redirect option next to Confirmation Type.
- Enter the full URL to your tickets page - eg: https://www.yourdomain.com/submit-ticket. Alternatively you can chose the PAGE option and select the submit-ticket page from the drop-down list.
- Click the Save Confirmation button
Fixing the Autologin
Ok, so you can see the redirect happening. BUT its redirecting to the same login form. Oops.
The problem is that Gravity Forms registers the user but does not automatically log them in. To fix that, we need some code.
Add the following code to your theme's FUNCTIONS.PHP file. Of course, if you're a developer you can just put it in any custom plugin.
add_action( 'gform_user_registered', 'as_gf_registration_autologin',  10, 4 );
function as_gf_registration_autologin( $user_id, $user_config, $entry, $password ) {
	$user = get_userdata( $user_id );
	$user_login = $user->user_login;
	$user_password = $password;

    wp_signon( array(
		'user_login' => $user_login,
		'user_password' =>  $user_password,
		'remember' => false

    ) );
}
Voila - if done correctly, everything should work as expected. You should be able to fill out your custom registration form and immediately be redirected to your new ticket screen!
Other Resources
You might also be interested in the LOGIN WIDGET that is part of the User Registration function in Gravity Forms. With this widget you can create a login form that has a link to your custom registration form.
Wrap Up
While there are a lot of steps to this process, its not hard or overly complicated. If you have intermediate experience with WordPress it should be relatively straight-forward to get this done. If you run into issues let us know so we can update this article!
THREE EASY WAYS TO GET STARTED WITH AWESOME SUPPORT TODAY!
Purchase A Bundle
Download Free Plugin
Install From WordPress.org