
4 Options For Displaying Your Ticket Forms
As with most things with Awesome Support, you have multiple options when it comes to creating and displaying ticket forms . And, in the majority of use cases they can be be used in conjunction with each other. For example you can use one method to create a ticket form for your free users while using another one for your premium users.
1. Standard Ticket Form
When you first install Awesome Support you get a default SUBMIT TICKET page that gives you a basic form consisting of a title and a body. If you turn on Departments or Products then those fields also show up on the form. For most users, this is all that is needed.
Depending on your theme, this form might show up on a page with or without a sidebar on the page.
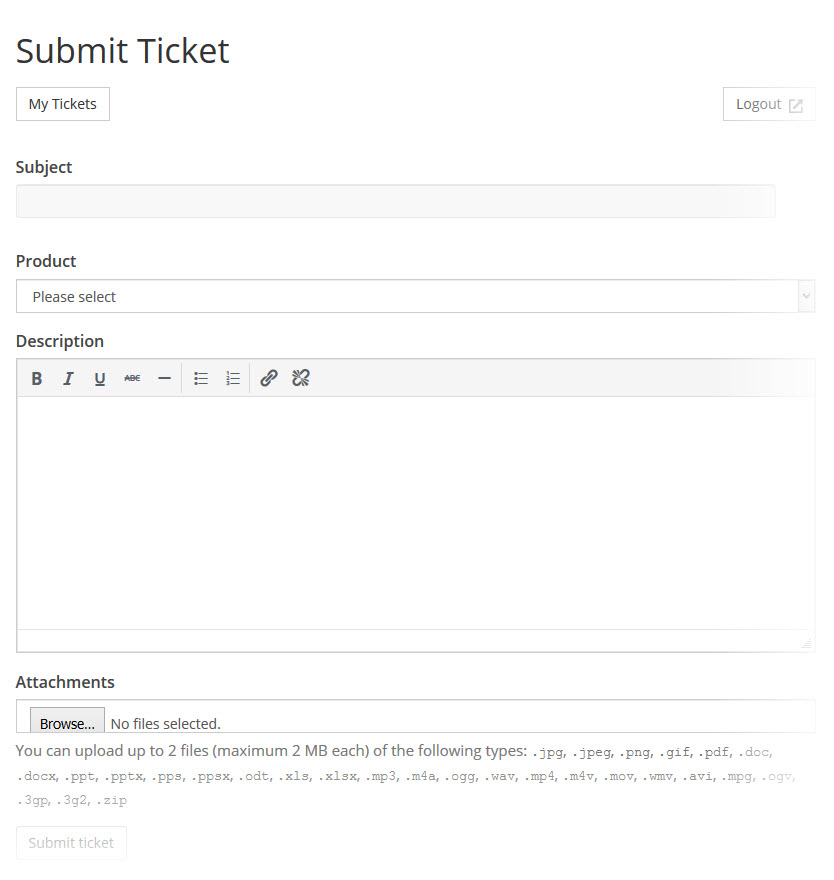
The form contains minimal styling which allows it to more easily inherit and fit into your theme's existing style. As such, each theme will render the form slightly differently and with slightly different fonts and other stylistic items.
You can easily style this form using CSS applied to your theme or via a custom plugin. And, you can use the Awesome Support custom fields features to add fields to this form.
Cost: 0 Pro: Easy Con: No conditional fields
2. The Standard Ticket Form with Pre-Filled Parameters
You can use the standard ticket form and pre-fill certain fields so that the same form can be used from multiple locations on your site. For example, you can have one form pre-filled for the technical support department and another with the fields pre-filled for your pre-sales department.
With this option you can create multiple basic forms for free - no premium add-ons needed!
You can learn more about how to create multiple ticket forms using this technique in this area of the documentation.
Cost: 0 Pro: Easy Con: No conditional fields
3. Gravity Forms
You can create completely custom ticket forms using the well-known Gravity Forms form-builder plugin. Awesome Support has a premium add-on called the Gravity Forms Bridge that allow you to take data collected from a Gravity Forms form and map it to Awesome Support Tickets. With this option you can:
- More easily create multi-page forms
- Create forms with conditional sections
- Create forms that automatically registers users
- Create forms that can be used in advanced workflow scenarios.
Cost: 80+ (including the cost of Gravity Forms) Pro: Very Flexible Con: Has a learning curve.
4. Remote Tickets
With the premium Remote Tickets add-on, you can add a ticket popup form to any site and send the data back to your main Awesome Support ticket site.

By default, the form will be triggered by a button on your website(s) but you can also set things up so that they are triggered off a menu or any other action on the site that a developer might imagine. The form is rendered in 100% javascript and therefore can be controlled by any other script present on the site.
Cost: 39+ Pro: Easy Con: No custom fields
Wrap Up
There you have it - four quick ways to add ticket forms to your website. For 99% of the use-cases we see, a combination of one or more of these methods will generally suffice.
THREE EASY WAYS TO GET STARTED WITH AWESOME SUPPORT TODAY!
Purchase A Bundle
Download Free Plugin
Install From WordPress.org